I channeled my inner Phil Keoghan and hosted an Amazing Race for my bestie, Sam, to celebrate her birthday! We called it the Samazing Race 🌎—and it was a total hit. Check out my blog post and full race video!
We had five teams (kids tagging along as the “camera crew”) race around Fort Collins to solve clues, complete tasks, and sprint to the finish line. It took about an hour and a half, and everyone had so much fun!

To pull this off, I created several props and decorations to make the game feel authentic:
- A custom logo
- Classic yellow clue envelopes
- Clue boxes at each stop
- Contestant bags
- Tasks for every location
- Signs to mark the route
- Detour, Route Info, and Roadblock folders
- And of course—the Pit Stop finish line mat!
Creating the Amazing Race Props
Custom Logo
I used ChatGPT to help brainstorm names and landed on Samazing Race.
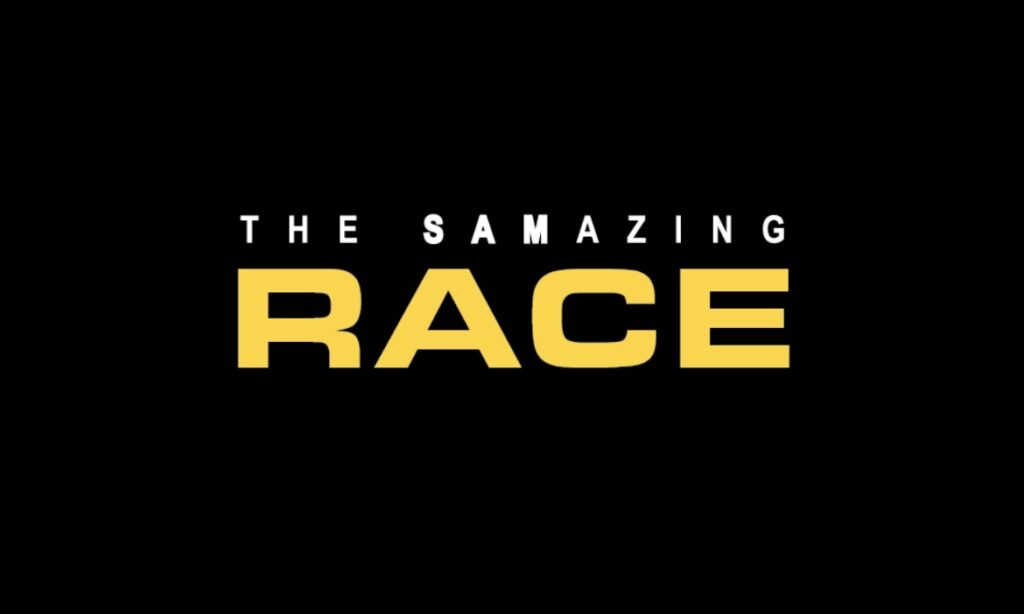
To design the logo, I used fonts similar to the show: Open Sans for the subtitle and Orbitron for the word “Race.” It gave everything a polished, on-theme look.
Clues & Yellow Envelopes
The Amazing Race is famous for its bright yellow clue envelopes. I wanted mine to feature our custom logo, so I ordered yellow envelopes and printable sticker sheets on Amazon.

I designed the logo 3-up on a page, printed it with my laserjet, cut them down with a paper cutter, and centered them on each envelope. A little tip: don’t seal the envelopes until the very end—it makes organizing the clues much easier.
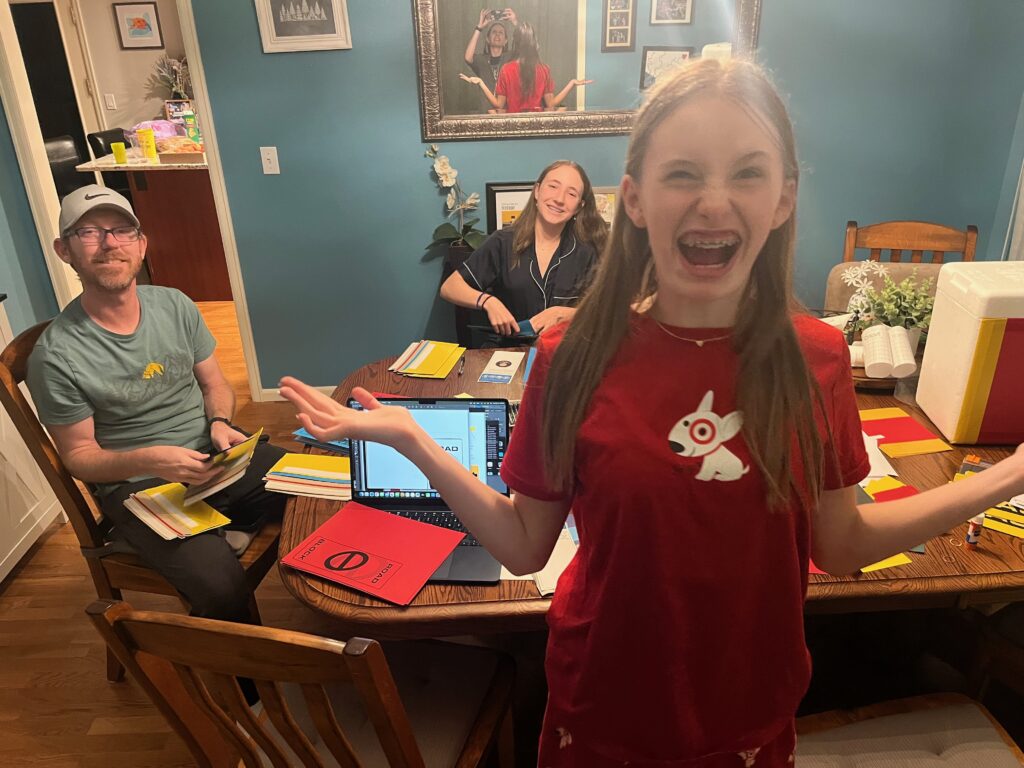
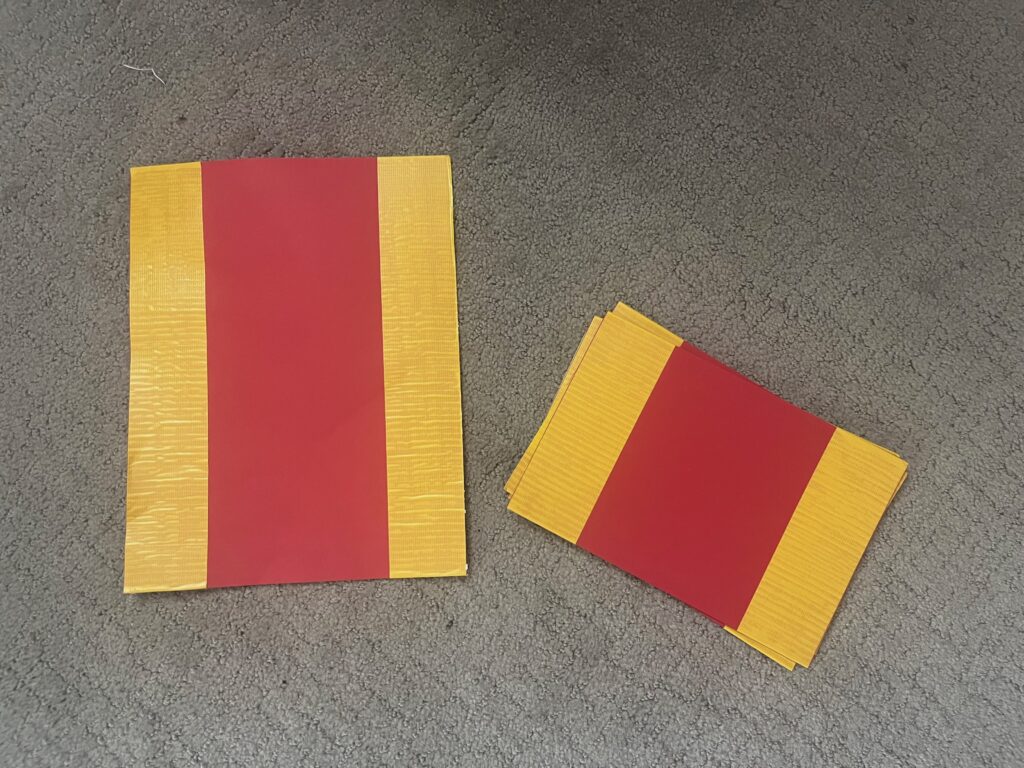
Clue Boxes
On the show, clues are presented in sleek black boxes, but I improvised with small styrofoam coolers my dad gets from medication deliveries.
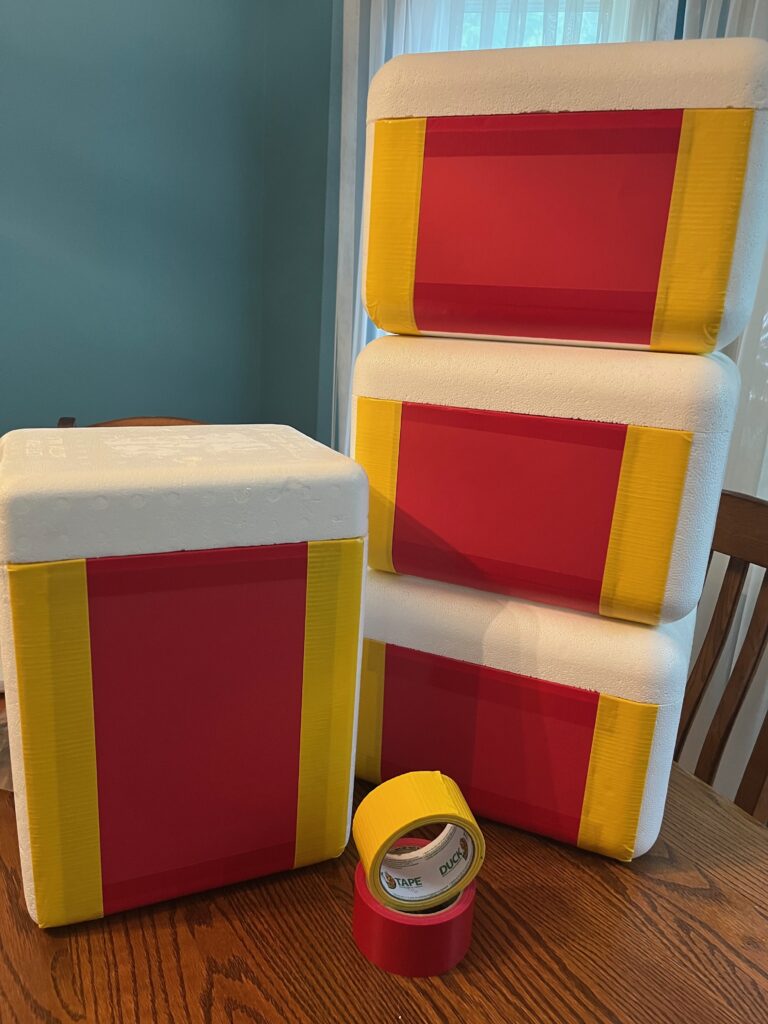
With leftover red cardstock and yellow duct tape (from the Pit Stop mat), I decorated them to look official and stand out at each location.
Contestant Bags
Each team got a contestant bag at the start, which included:
- A copy of the race rules
- Color-coded notebooks (one per team)
- Pens
- Water bottles
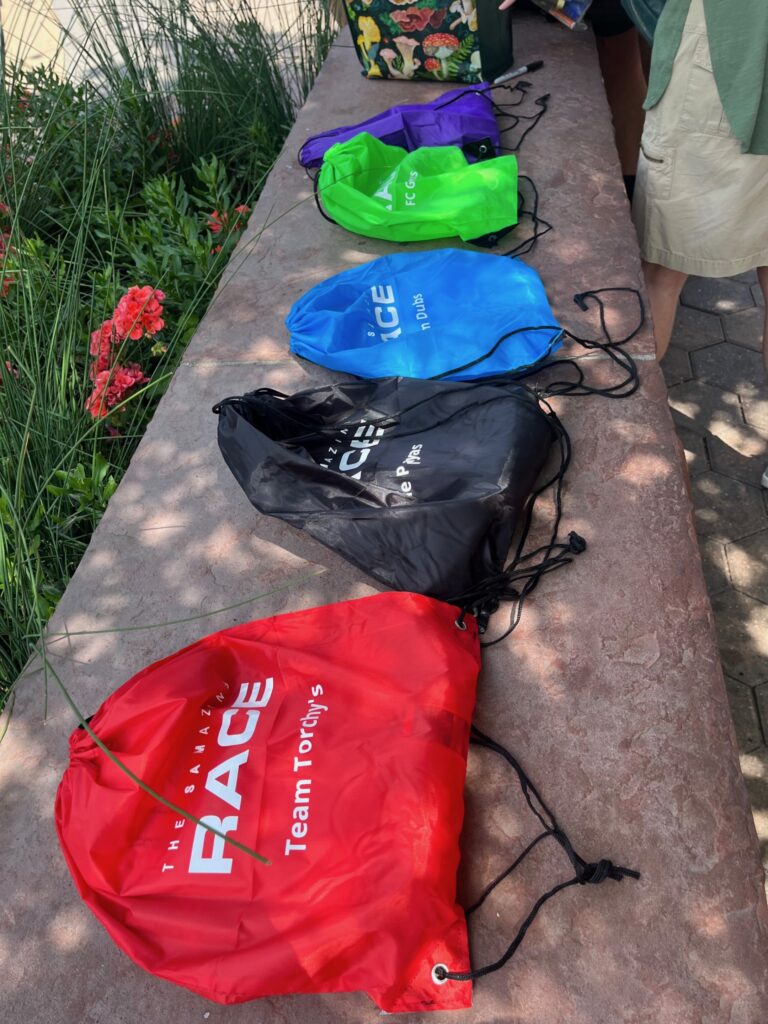
I used my Cricut to cut vinyl labels for the bags with team names, but I didn’t use the right kind of vinyl—so some of the letters peeled off during the day. Lesson learned: make sure to use permanent vinyl if you want your labels to last! Even so, the bags were a fun and functional touch that made each team feel official.
Tasks & Stops
I came up with 7 race tasks using a mix of ChatGPT brainstorming and my knowledge of Sam’s favorite things:
- Old Town art scavenger hunt
- Slyce Pizza delivery 🍕
- Library Park Detour – trivia vs. coloring one of Sam’s Etsy coloring sheets
- Torchy’s Tacos queso challenge 🌮
- CSU Library book hunt 📚
- City Park pickleball rally
- Final Pit Stop at Odell’s Brewery 🍷🍻
Signs
On the real Amazing Race, Phil often says “look for the marked route.” Since we didn’t have a full TV crew to guide racers, signs were key. I made simple signs with red cardstock, yellow duct tape, and yellow yard flags for outdoor spaces.
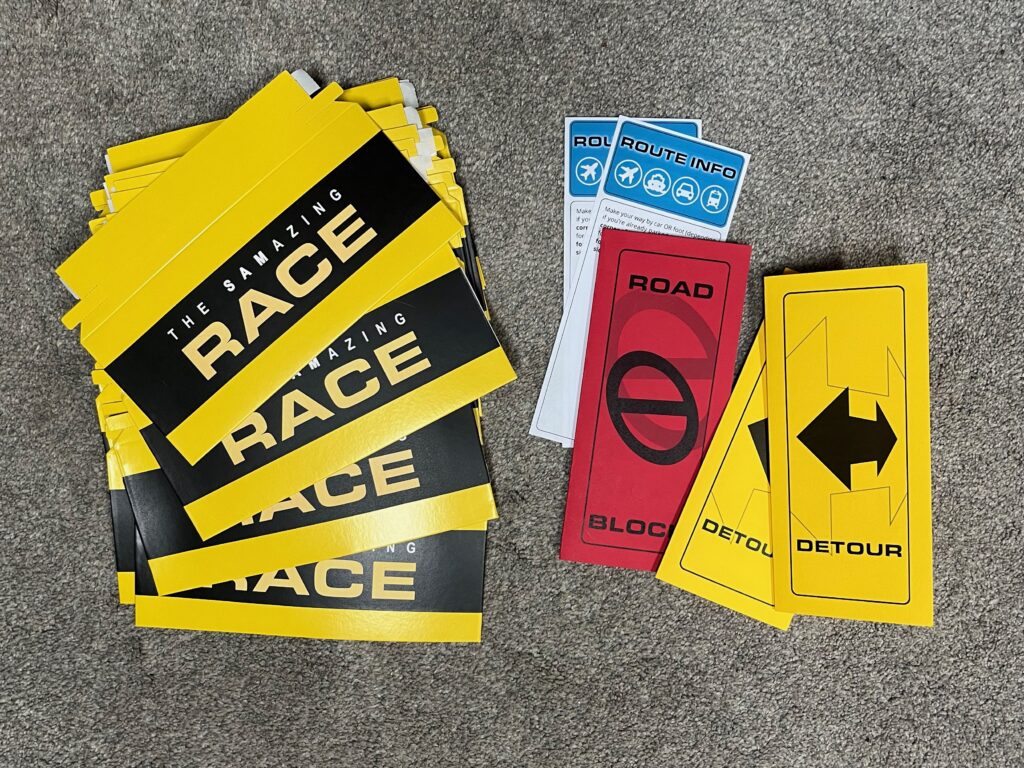
Folders (Detour, Route Info & Roadblock)
I designed printable folders to hold each clue and task. To save on color ink, I printed black text on colored paper—red, yellow, and blue. (I had extra yellow from a Pokémon Go party, so that worked perfectly!)
Each folder was trimmed down to 9”x4” to fit the envelopes. I’ll share my printable files soon so you can use them for your own race!
The Pit Stop Finish Line
The Pit Stop finish line mat deserved its own post—it really made the ending feel like the real show! Check out my step-by-step guide here.
Supplies I Used
- Yellow envelopes
- Printable sticker sheets
- Red & yellow duct tape
- Red, yellow, and blue cardstock
- Yellow yard flags
- Cinch sacks & Color coded notepads
- Cricut Maker + vinyl (for logo)
- Paper cutter
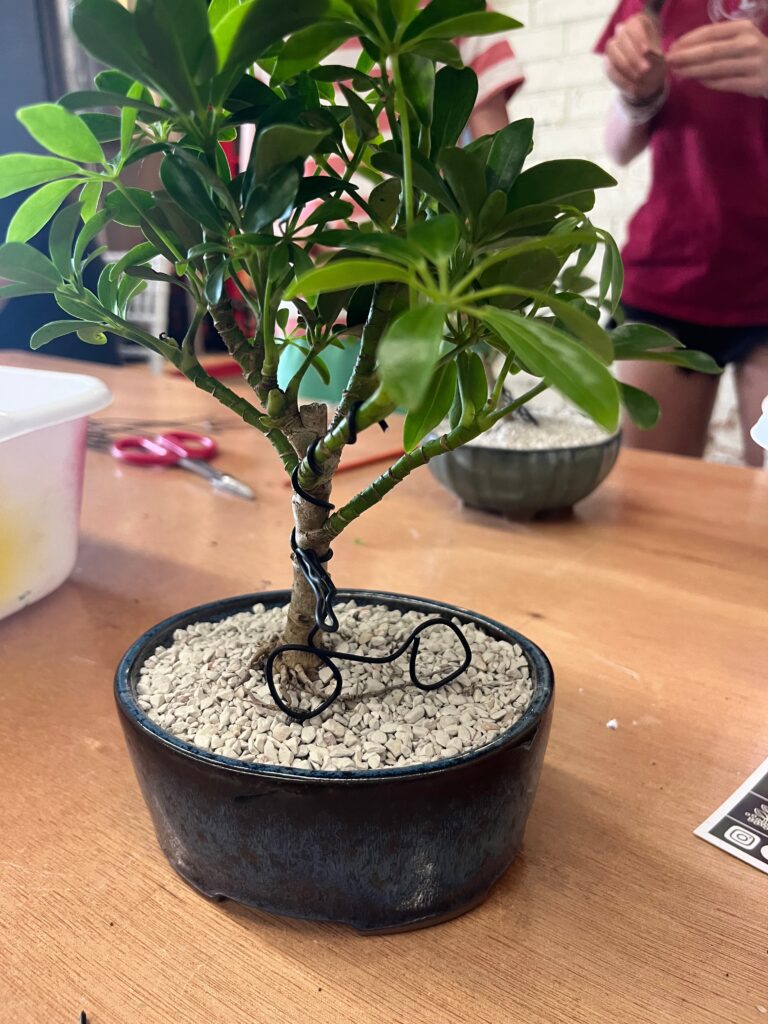
- Phil’s hei matau necklace
Final Thoughts
The Samazing Race was such a success! Racers laughed, competed, and got really into the challenges. Best of all, Sam felt celebrated in a way that was totally her.
If you’re planning a DIY Amazing Race party, I can’t recommend these little details enough—they really brought the whole experience to life.