Quick guide: Making shirts for the new album
When Taylor drops a new album, it’s not just a listening party — it’s a whole event. So for The Life of a Showgirl, we decided to make our own tees to celebrate in true Swiftie style ✨
We grabbed everything we needed in one trip to Michaels — t-shirts and the vinyl for the designs — and used our Cricut machine to bring the look to life.
What We Made
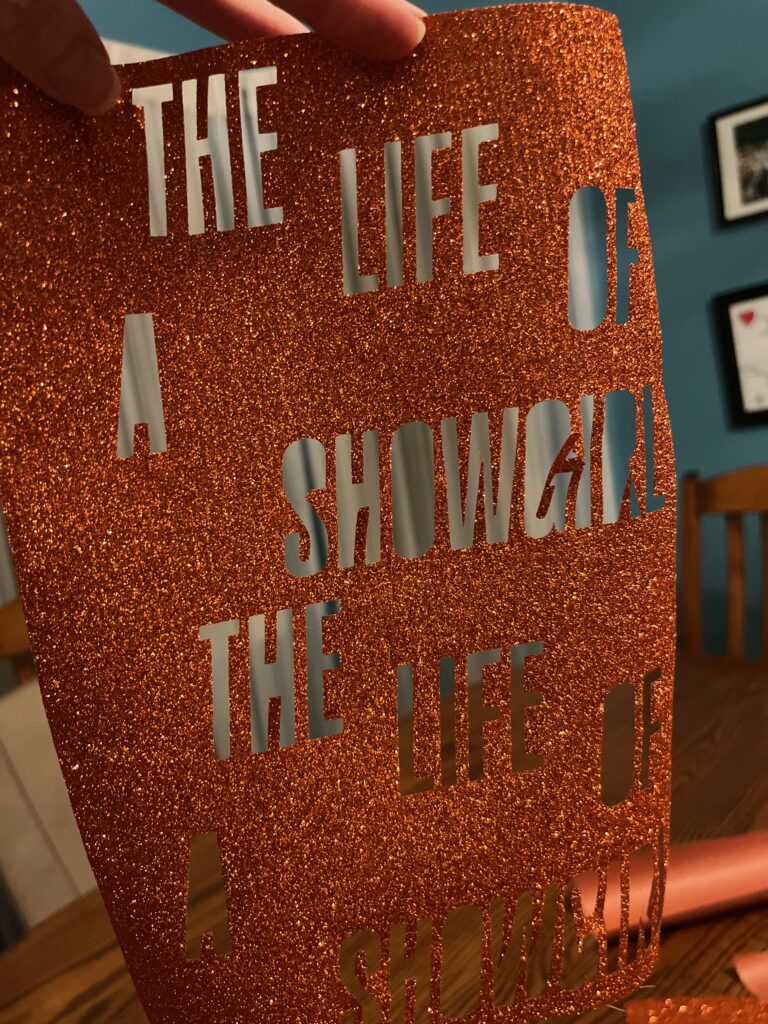
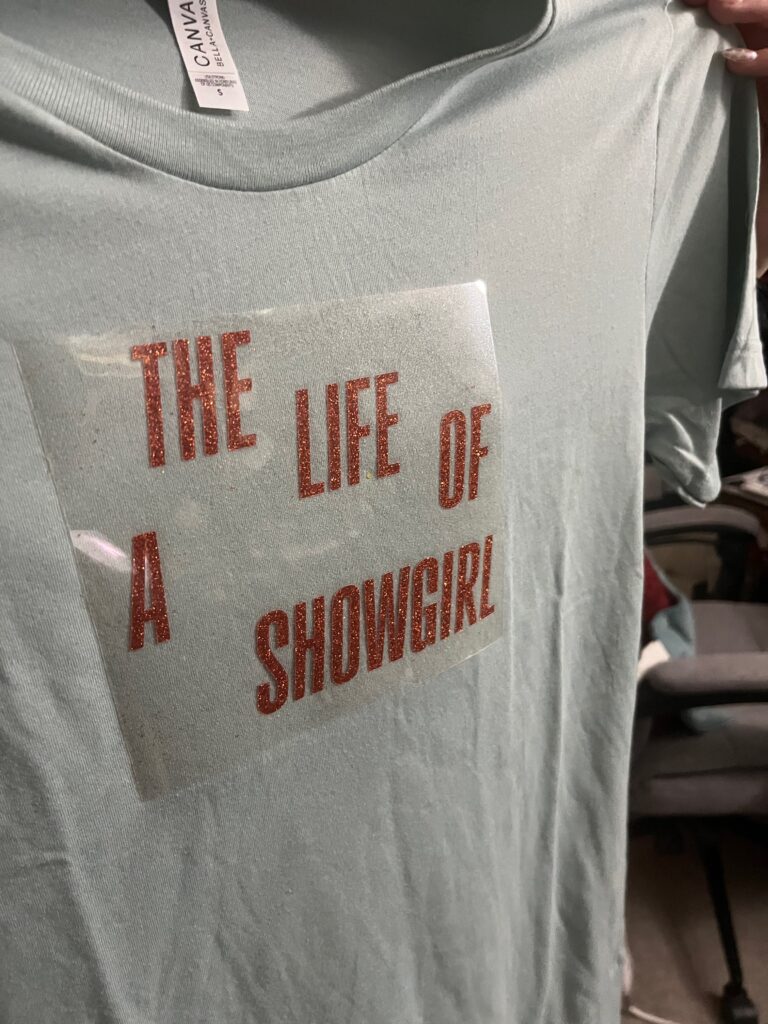
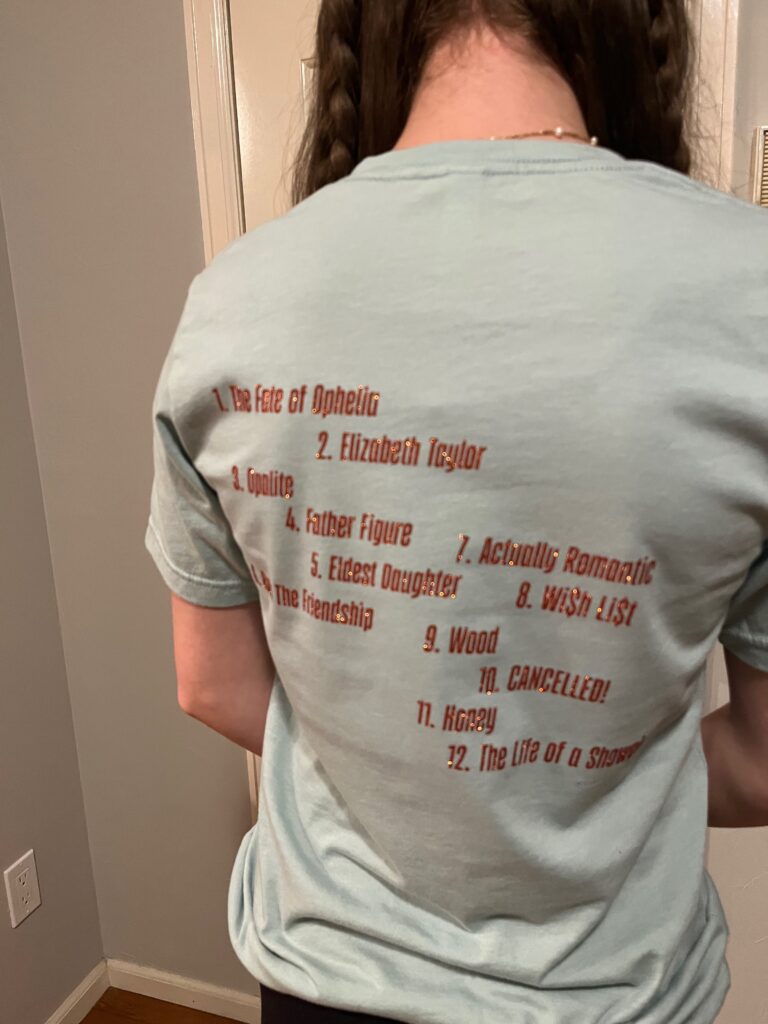
We modeled the design after the album cover’s text, used the font and laid it out in a similar manner to the actual album color and back. I created some custom svg cut files that you can use too!
Materials:
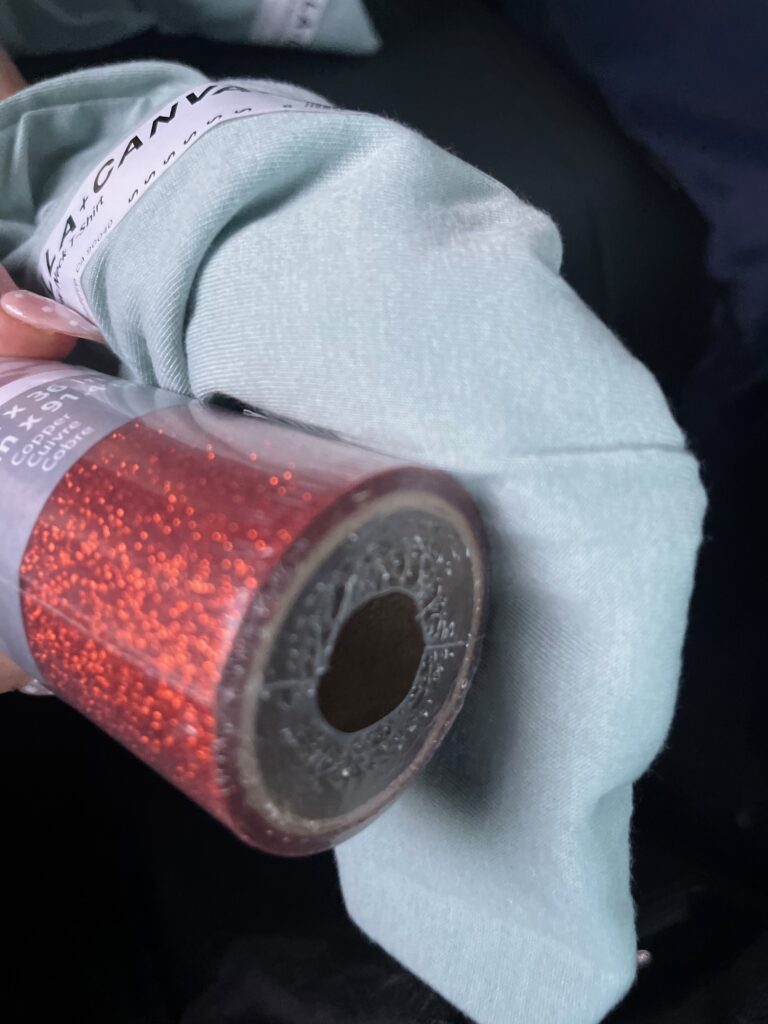
- Basic t-shirts from Michaels – we used the Canvas & Bella women’s tee in dusty blue
- Heat transfer vinyl (Siser Glitter HTV 11.8″x5ft Roll, Glitter orange)
- This is my Amazon Associates link
- Cricut machine + heat press (or iron)
- My custom SVG files (linked below)
How we did it:
- Designed the shirt wording to match the album art’s vibe
- Cut the vinyl with Cricut
- The SVG has the words already spaced out like the album – just make sure to use the ‘Attach’ function to stop Cricut from moving the words around.
- FYI: for the set list, you can ‘attach’ each name in place, to keep the spacing as-is, but it will take up much more vinyl than letting the Cricut save space. If you do this and layout the words on your own, just be careful not to overlap the clear part of the vinyl sheet.
- Don’t forget to use the ‘mirror’ setting when using heat transfer vinyl
- Weed away the negative space
- Pressed it onto the shirts (don’t forget to preheat and peel carefully!)
- Wore them proudly while blasting “The Fate of Ophelia” on repeat 🎶
Want to Make One Too?
You can download the SVG files I made right here:
They’re free to use for personal crafting — Swifties unite!