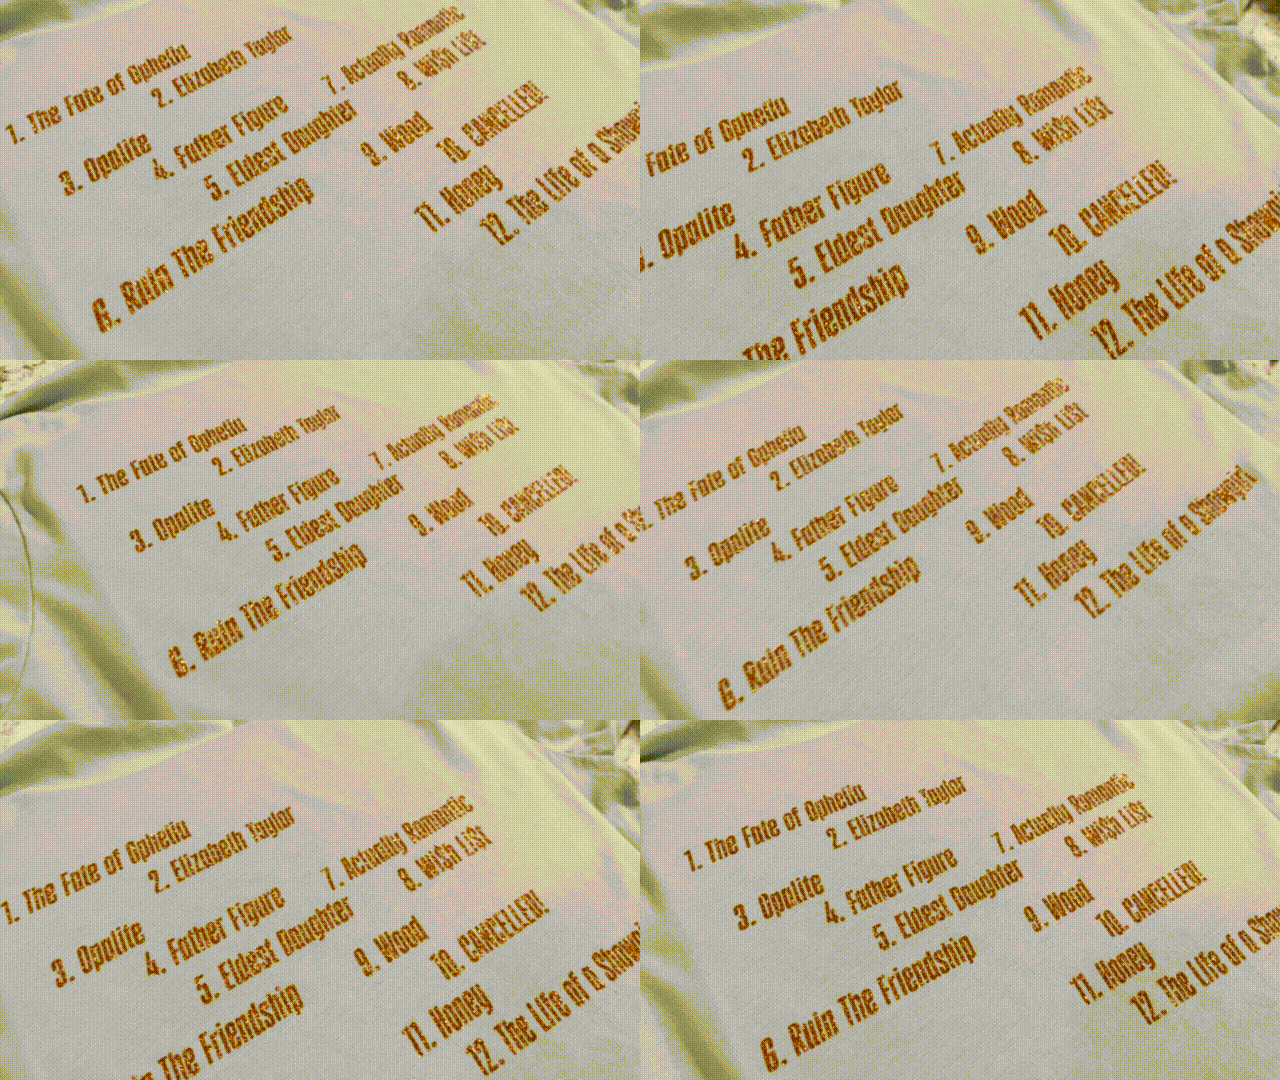
When Taylor drops a new album, it’s not just a listening party — it’s a whole event. So for The Life of a Showgirl, we decided to make our own tees to celebrate in true Swiftie style ✨
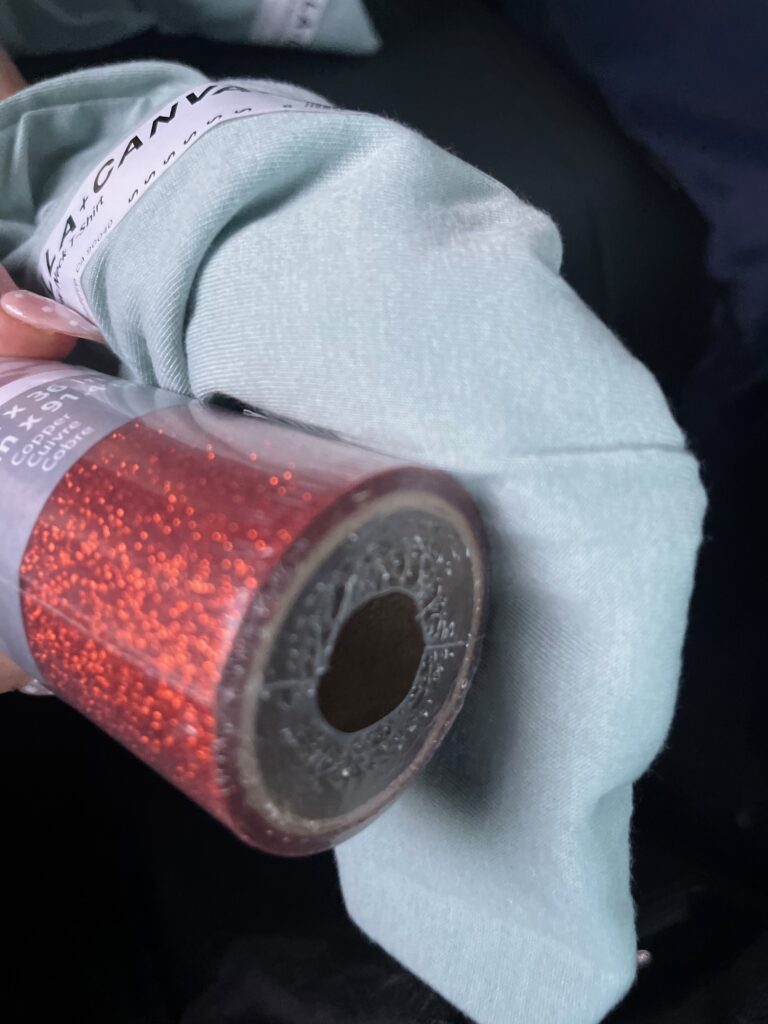
We grabbed everything we needed in one trip to Michaels — t-shirts and the vinyl for the designs — and used our Cricut machine to bring the look to life.
What We Made
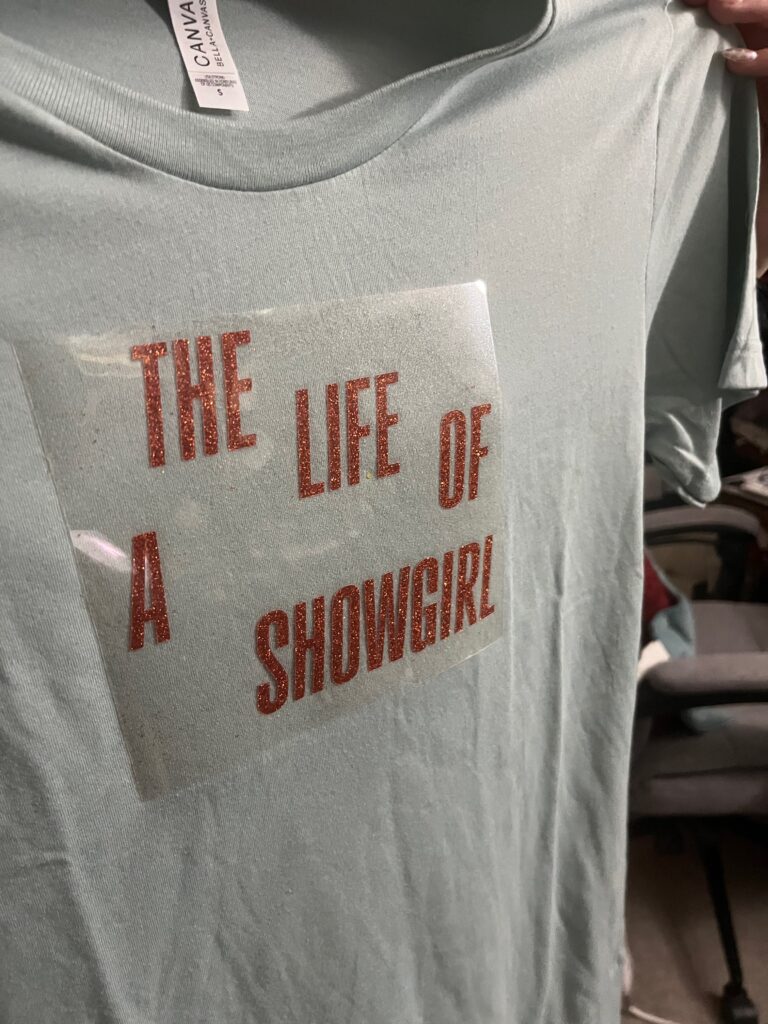
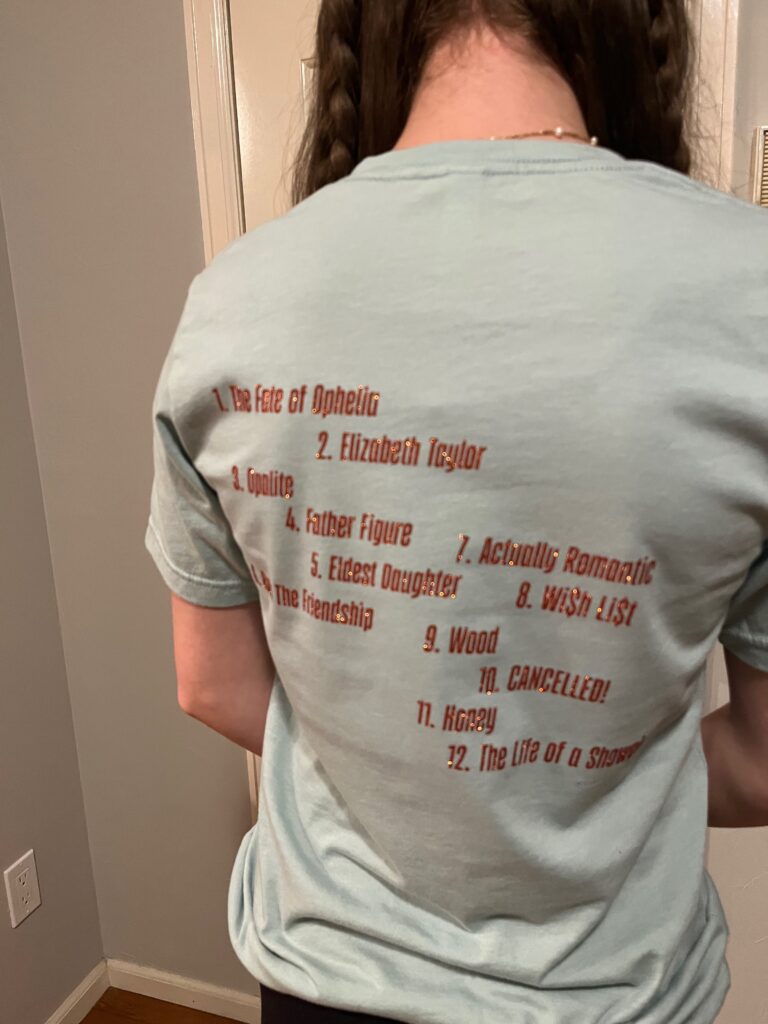
We modeled the design after the album cover’s text, used the font and laid it out in a similar manner to the actual album color and back. I created some custom svg cut files that you can use too!
Materials:
Basic t-shirts from Michaels – we used the Canvas & Bella women’s tee in dusty blue
Designed the shirt wording to match the album art’s vibe
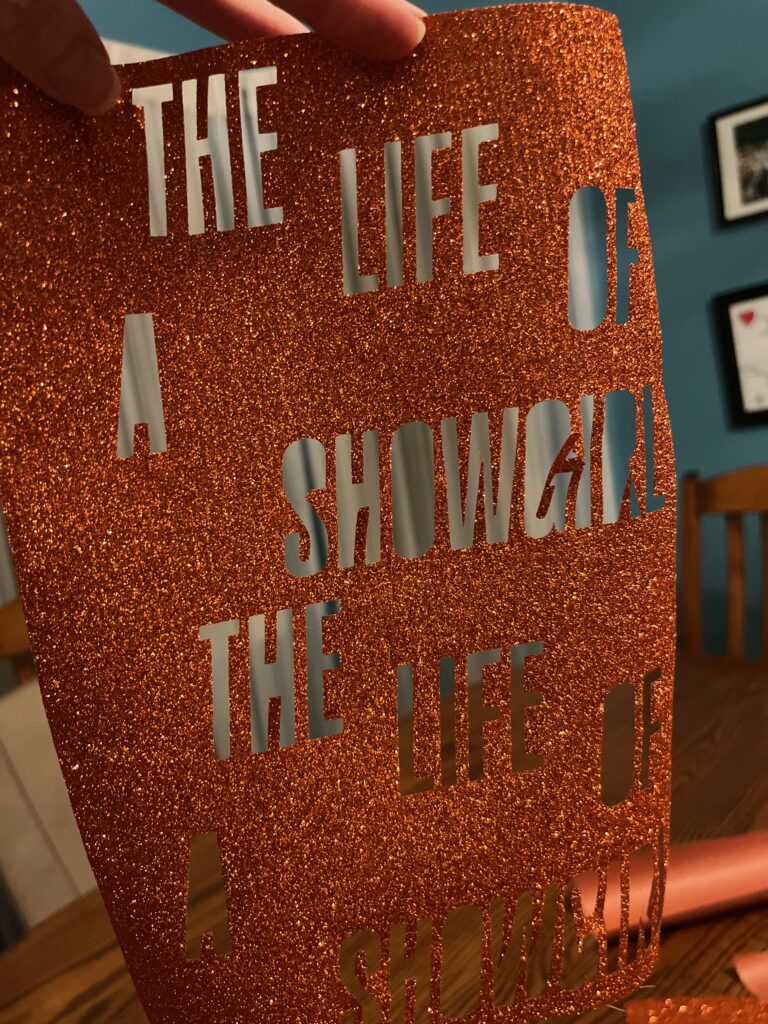
Cut the vinyl with Cricut
The SVG has the words already spaced out like the album – just make sure to use the ‘Attach’ function to stop Cricut from moving the words around.
FYI: for the set list, you can ‘attach’ each name in place, to keep the spacing as-is, but it will take up much more vinyl than letting the Cricut save space. If you do this and layout the words on your own, just be careful not to overlap the clear part of the vinyl sheet.
Don’t forget to use the ‘mirror’ setting when using heat transfer vinyl
Weed away the negative space
Pressed it onto the shirts (don’t forget to preheat and peel carefully!)
Wore them proudly while blasting “The Fate of Ophelia” on repeat 🎶
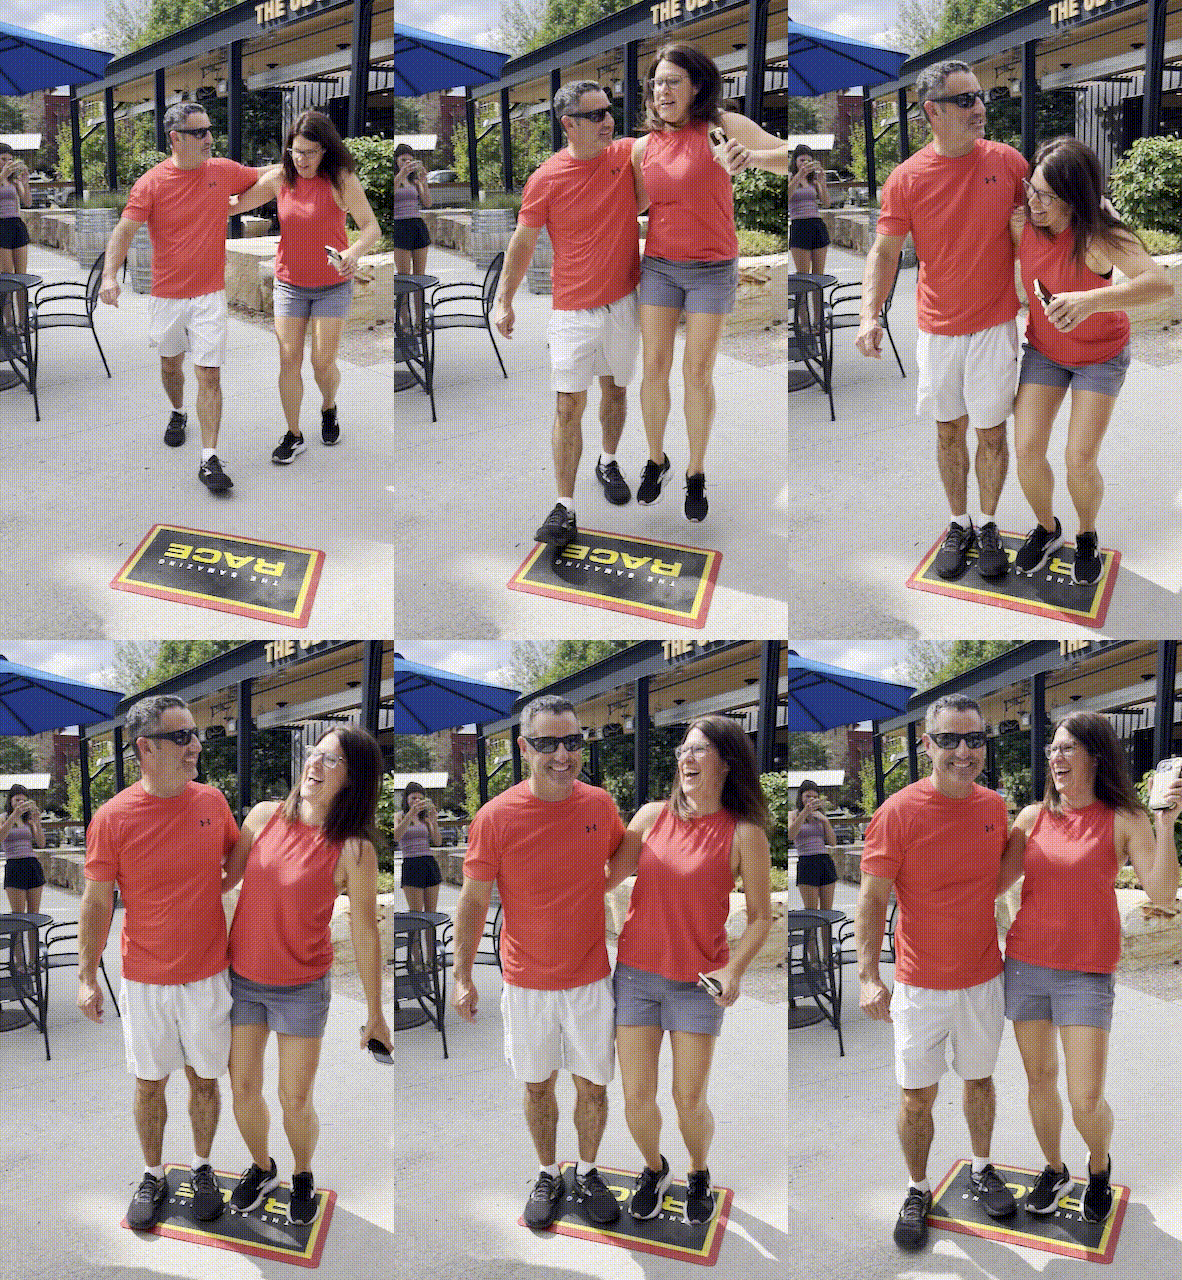
IIf you’re going to throw an Amazing Race party, you have to have a finish line. On the show, that means a pit stop with the iconic mat—and I knew our party needed one too!
I had seen a few DIY versions online that used everything from vinyl fabric to paper, but I wanted something sturdier that could hold up through multiple teams racing to the finish. I first thought about a black tarp from Harbor Freight, but worried it might be too slippery.
That’s when I spotted fatigue resistance floor mats and had the idea—why not just use a floor mat? Practical, safe, and reusable.
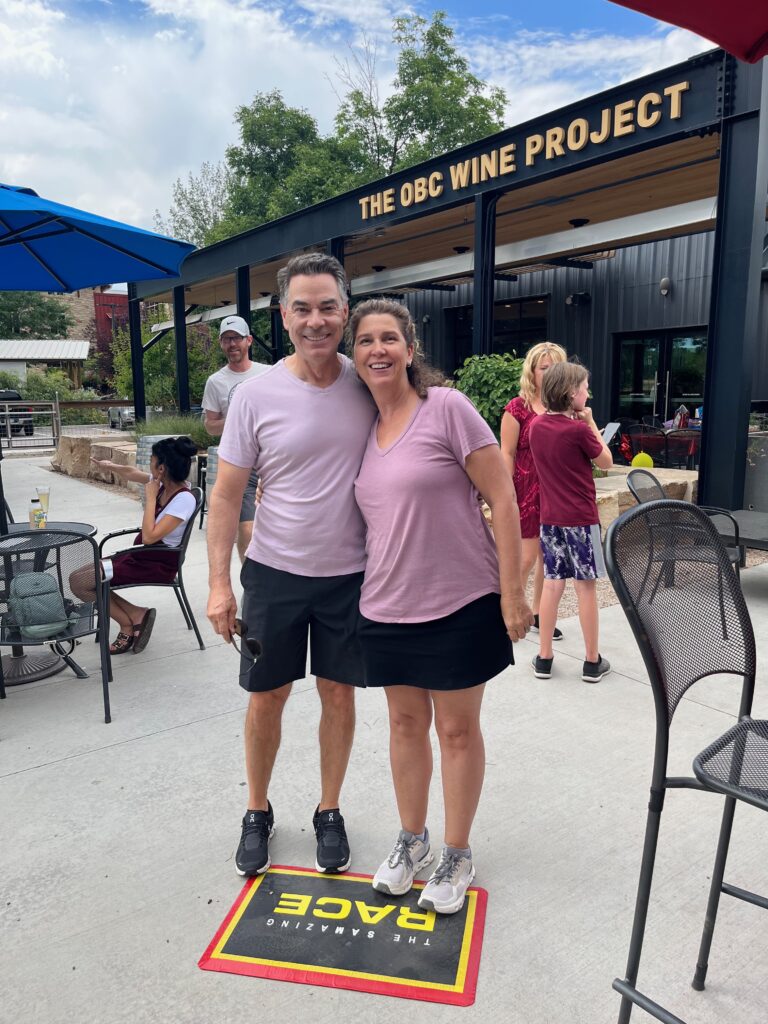
I ended up finding an inexpensive one on Amazon, and while it isn’t quite as large as the show’s mat, it worked perfectly for our party. Each couple could easily jump onto it, and since this was for a birthday, the guest of honor could even keep it afterward to use in her garage.
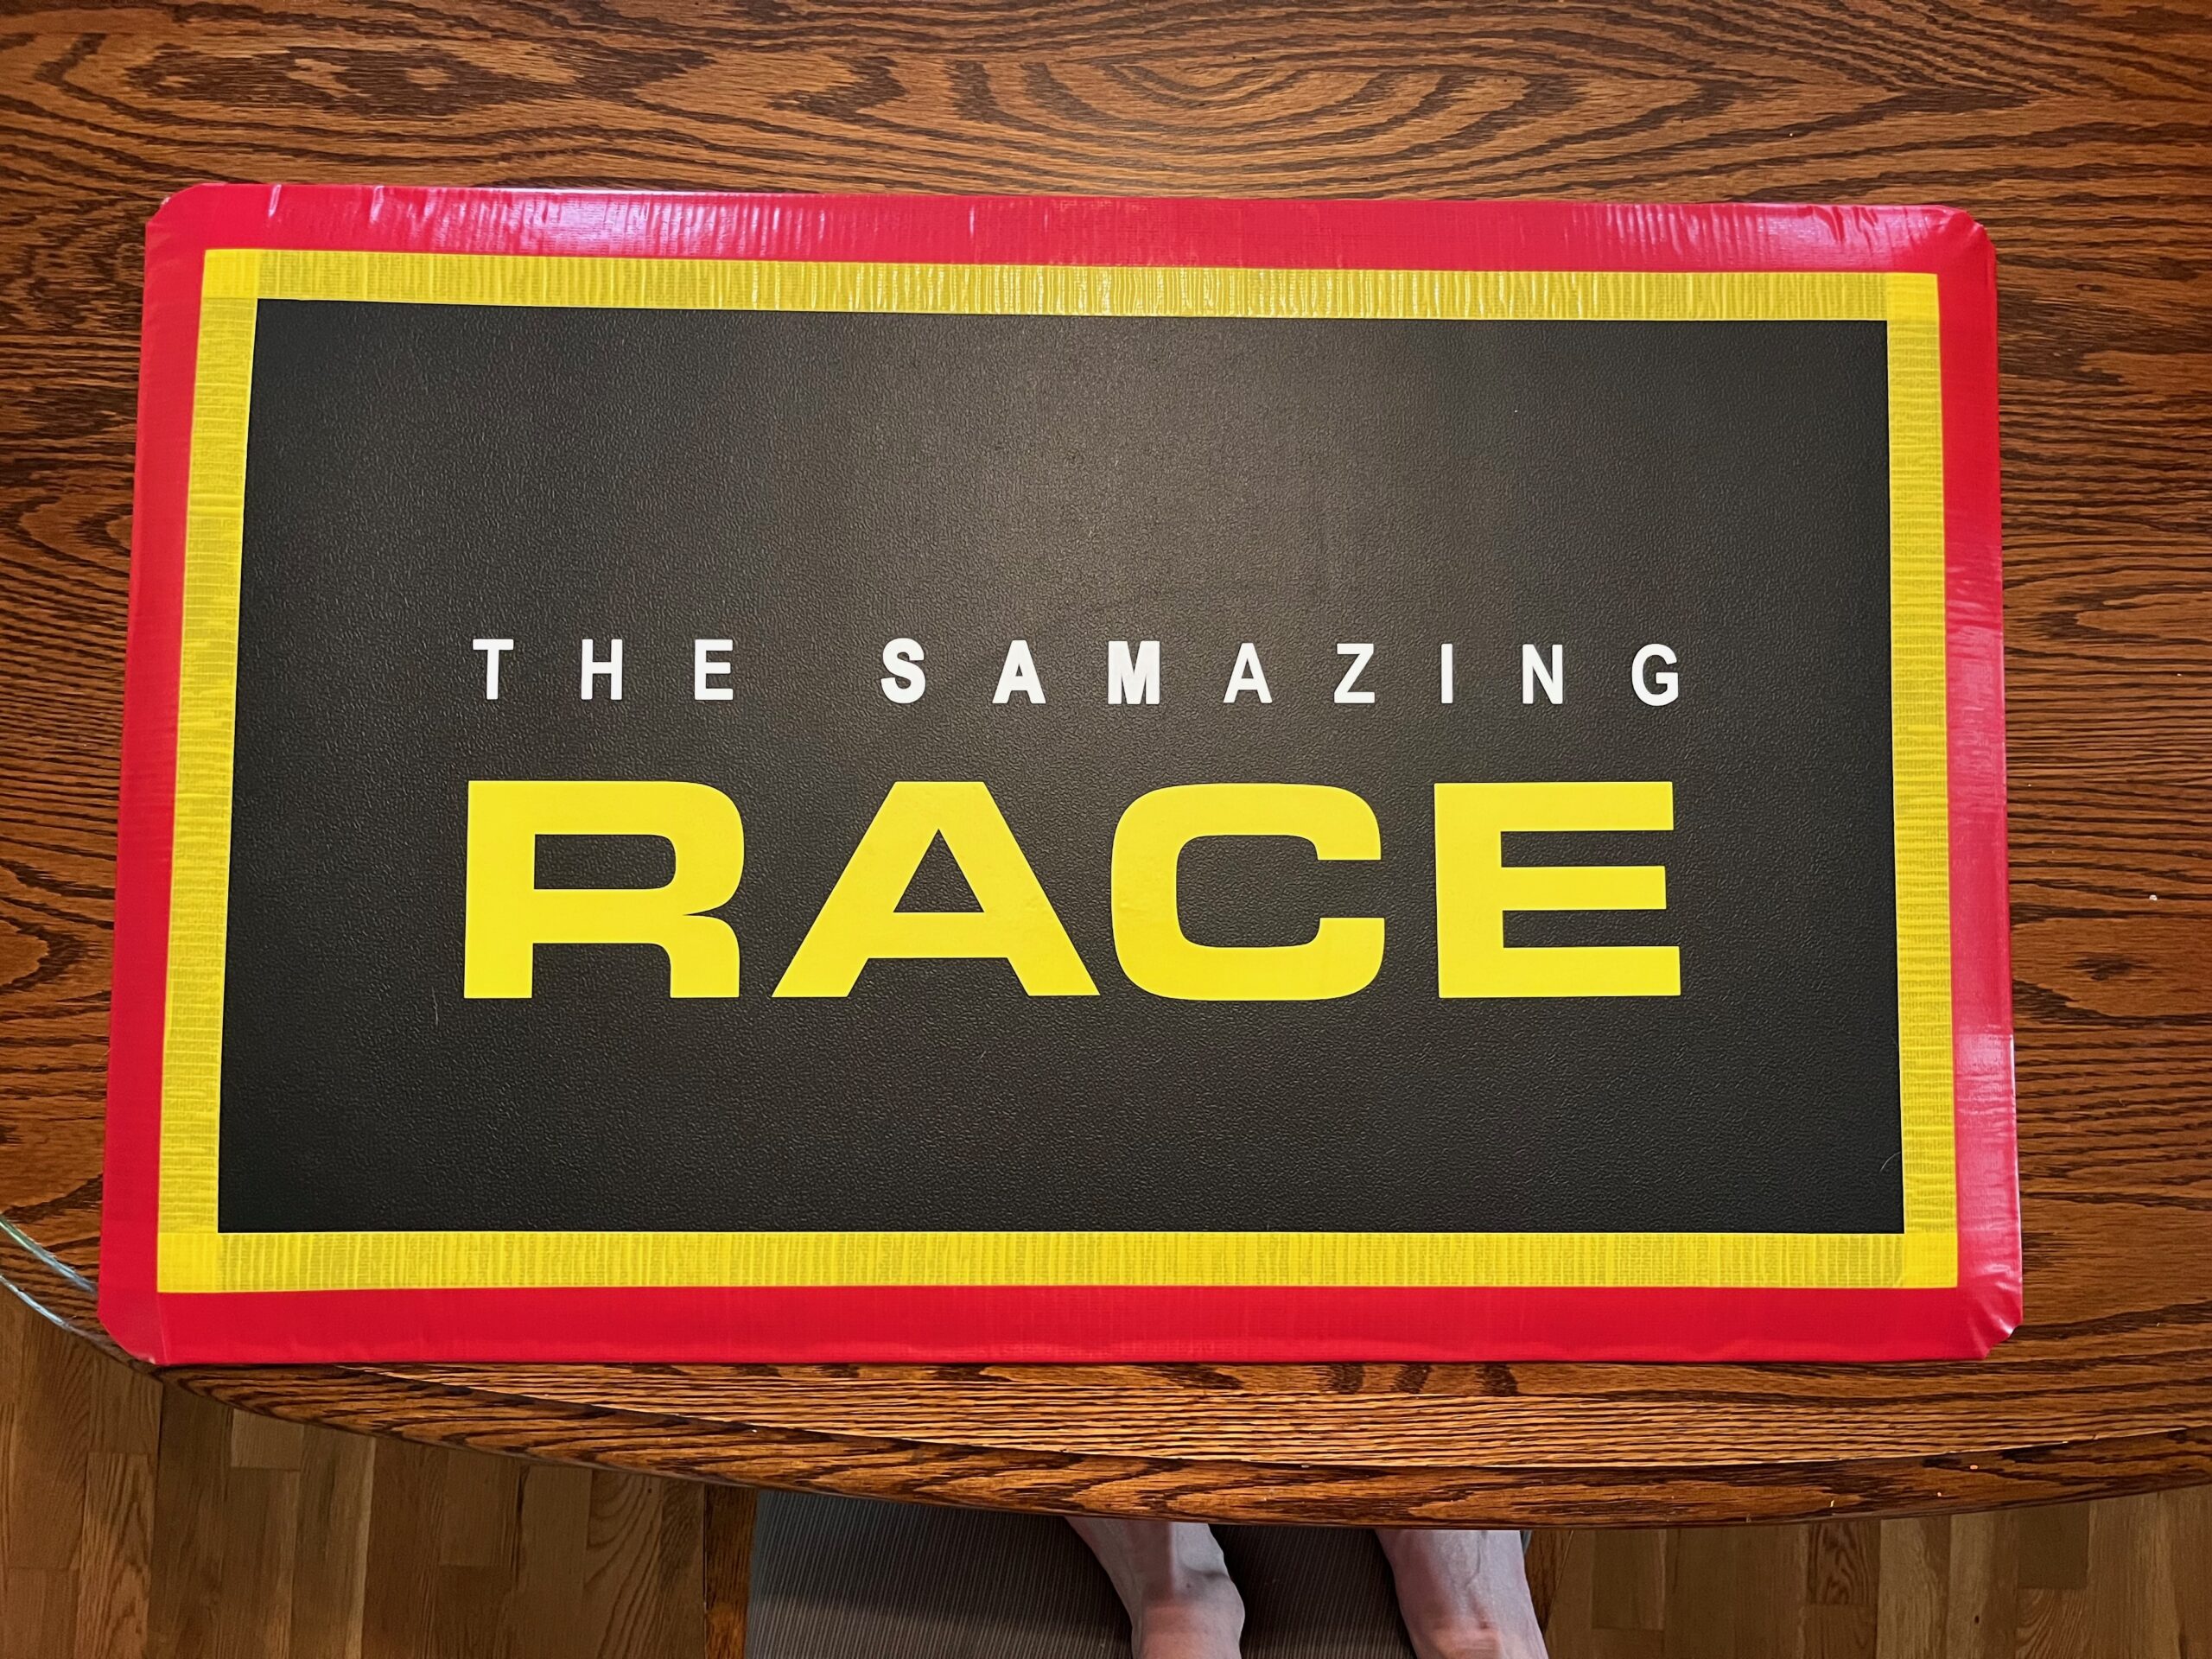
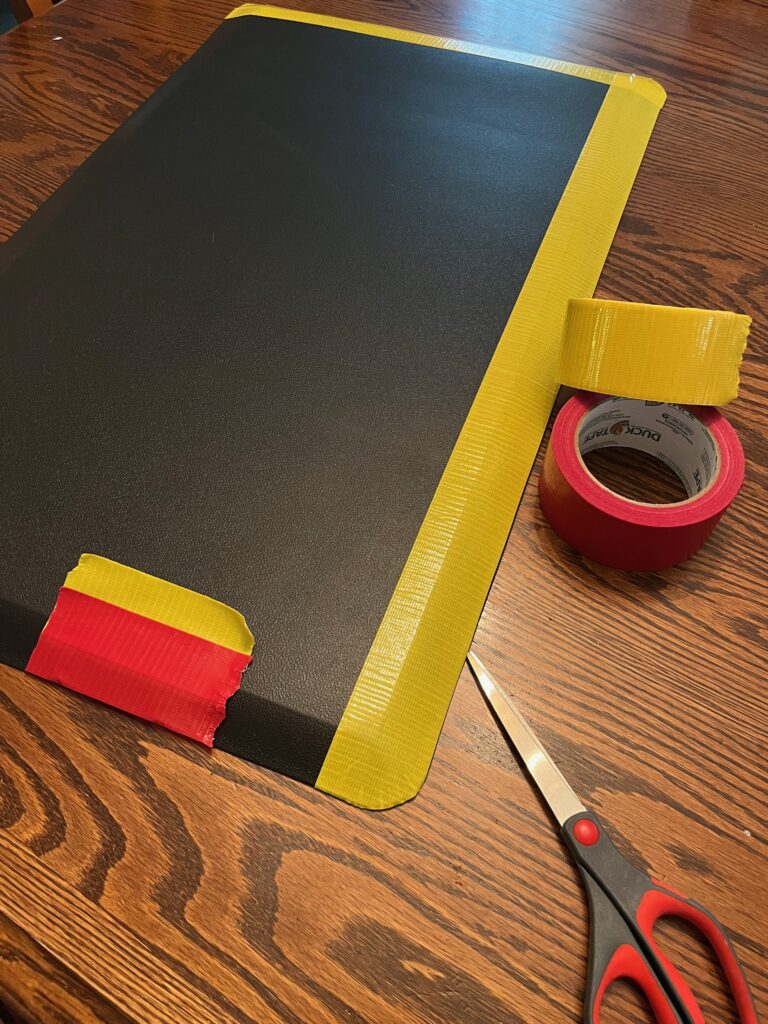
To decorate it, I grabbed some duct tape in the Amazing Race colors—red and yellow—and layered the yellow first, then the red over top, wrapping the tape underneath to secure it. For the logo, I cut it out on my Cricut Maker using Cricut permanent vinyl.
On the actual show, pit stop mats usually have a world map in the center, but since I wasn’t looking to paint one, I decided to just stick with the logo. Honestly, it turned out great! When the racers came sprinting in and jumped onto the mat, it really added to the excitement and authenticity of the game.
This little DIY project was totally worth it—and I’d do it again for sure.
Step-by-Step: How to Make Your Own Amazing Race Pit Stop Mat
Get Your Base Mat – I used a 17″ x28″ fatigue resistance floor mat from Amazon. It’s durable, slip-resistant, and because it’s waterproof, it was easy to decorate.
Grab Duct Tape in Race Colors – Pick up red and yellow duct tape here on Amazon. Lay down the yellow first, then overlap with red so the edges wrap underneath.
Cut the Logo – Use Cricut permanent vinyl with your Cricut Maker (or similar cutting machine).
Find the Center – Use a ruler and a dry erase marker to mark the middle of your mat for easy alignment.
Apply the Logo – Carefully place your vinyl logo in the center. Smooth it down so it adheres firmly.
Optional World Map – If you’re feeling extra crafty, you could add a green world map design in the center like the real mats—but the logo alone still looks great.
Finish Line Ready! – Set it out at your pit stop and let racers jump onto it for that full Amazing Race experience.
I channeled my inner Phil Keoghan and hosted an Amazing Race for my bestie, Sam, to celebrate her birthday! We called it the Samazing Race 🌎—and it was a total hit. Check out my blog post and full race video!
We had five teams (kids tagging along as the “camera crew”) race around Fort Collins to solve clues, complete tasks, and sprint to the finish line. It took about an hour and a half, and everyone had so much fun!
To pull this off, I created several props and decorations to make the game feel authentic:
A custom logo
Classic yellow clue envelopes
Clue boxes at each stop
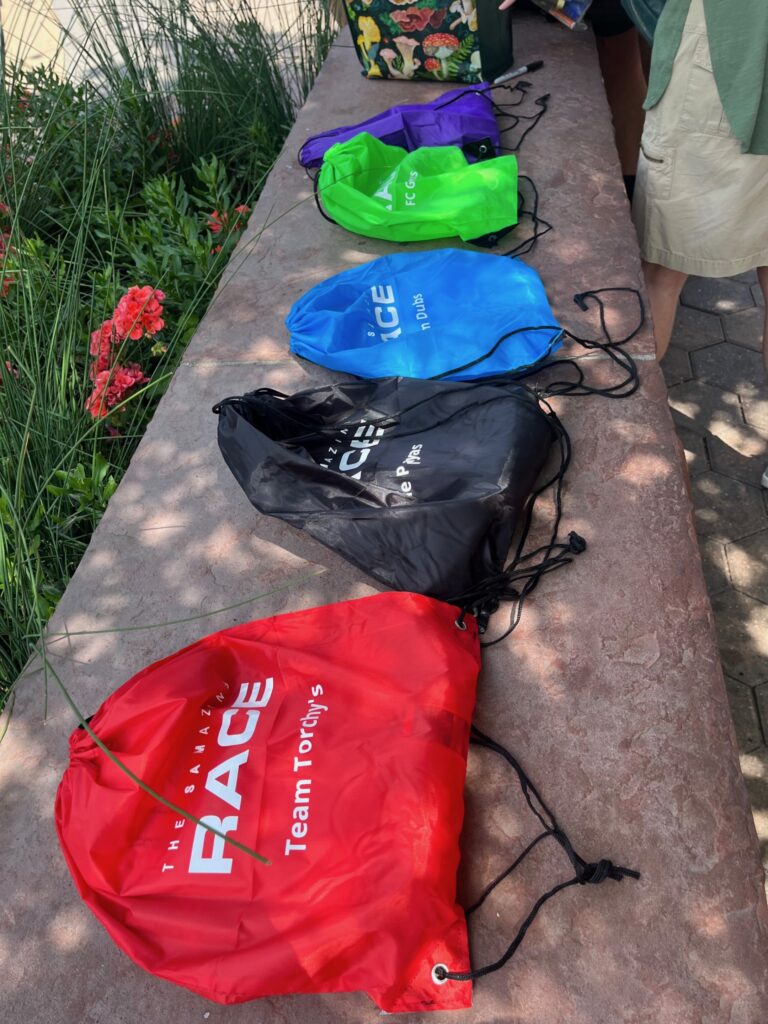
Contestant bags
Tasks for every location
Signs to mark the route
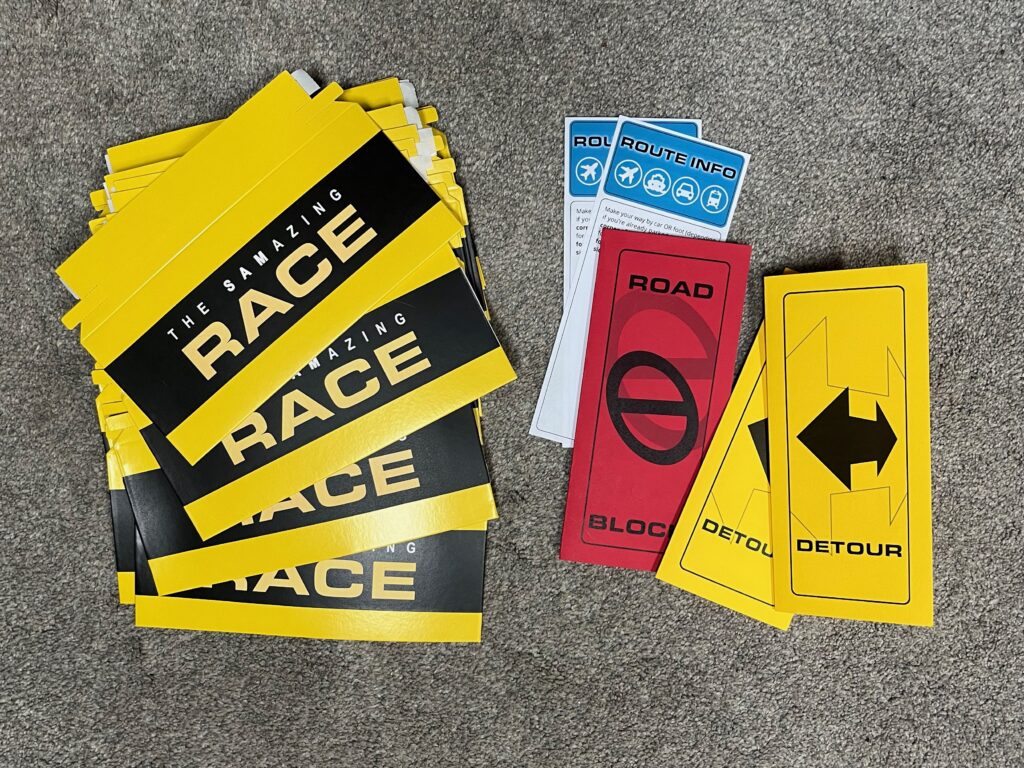
Detour, Route Info, and Roadblock folders
And of course—the Pit Stop finish line mat!
Creating the Amazing Race Props
Custom Logo
I used ChatGPT to help brainstorm names and landed on Samazing Race.
To design the logo, I used fonts similar to the show: Open Sans for the subtitle and Orbitron for the word “Race.” It gave everything a polished, on-theme look.
Clues & Yellow Envelopes
The Amazing Race is famous for its bright yellow clue envelopes. I wanted mine to feature our custom logo, so I ordered yellow envelopes and printable sticker sheets on Amazon.
I designed the logo 3-up on a page, printed it with my laserjet, cut them down with a paper cutter, and centered them on each envelope. A little tip: don’t seal the envelopes until the very end—it makes organizing the clues much easier.
Clue Boxes
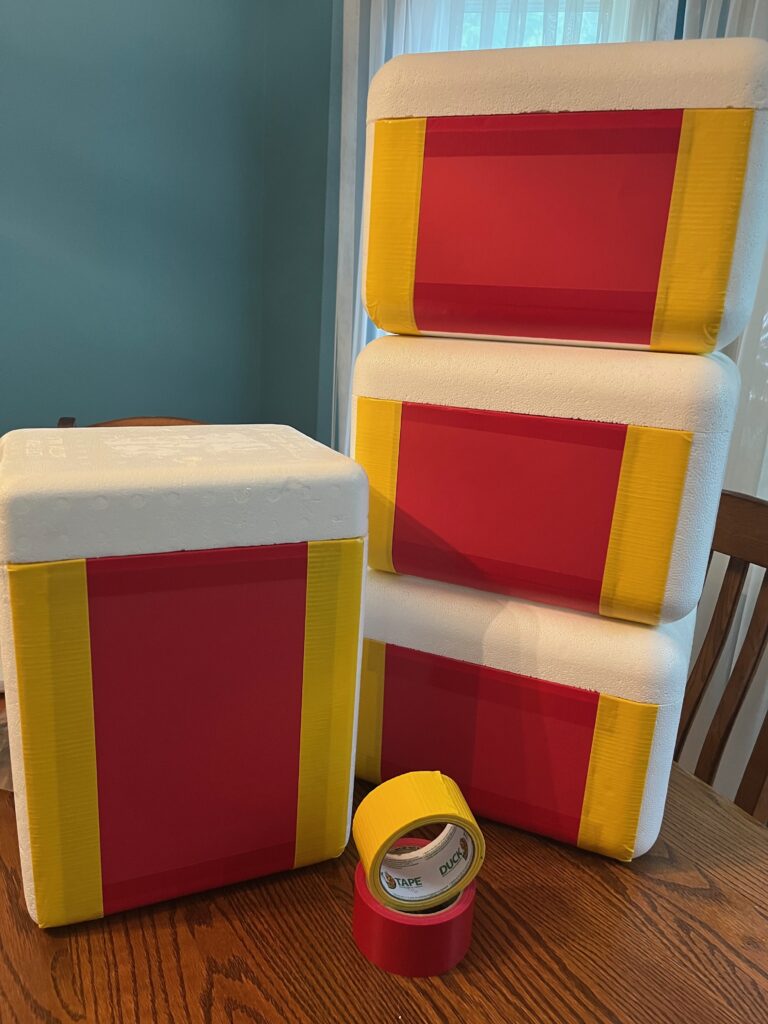
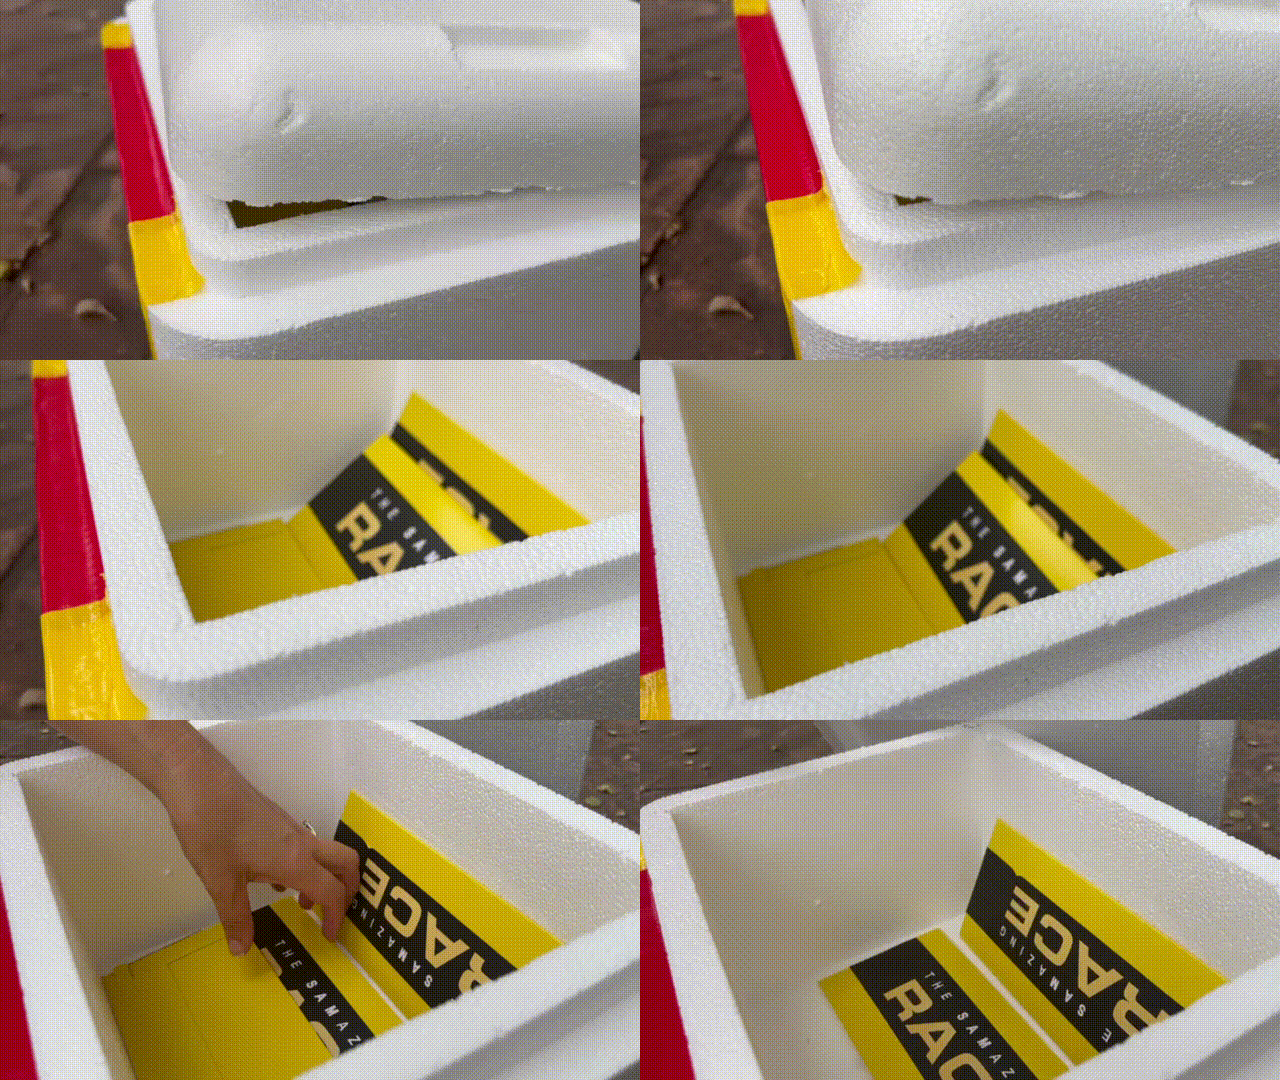
On the show, clues are presented in sleek black boxes, but I improvised with small styrofoam coolers my dad gets from medication deliveries.
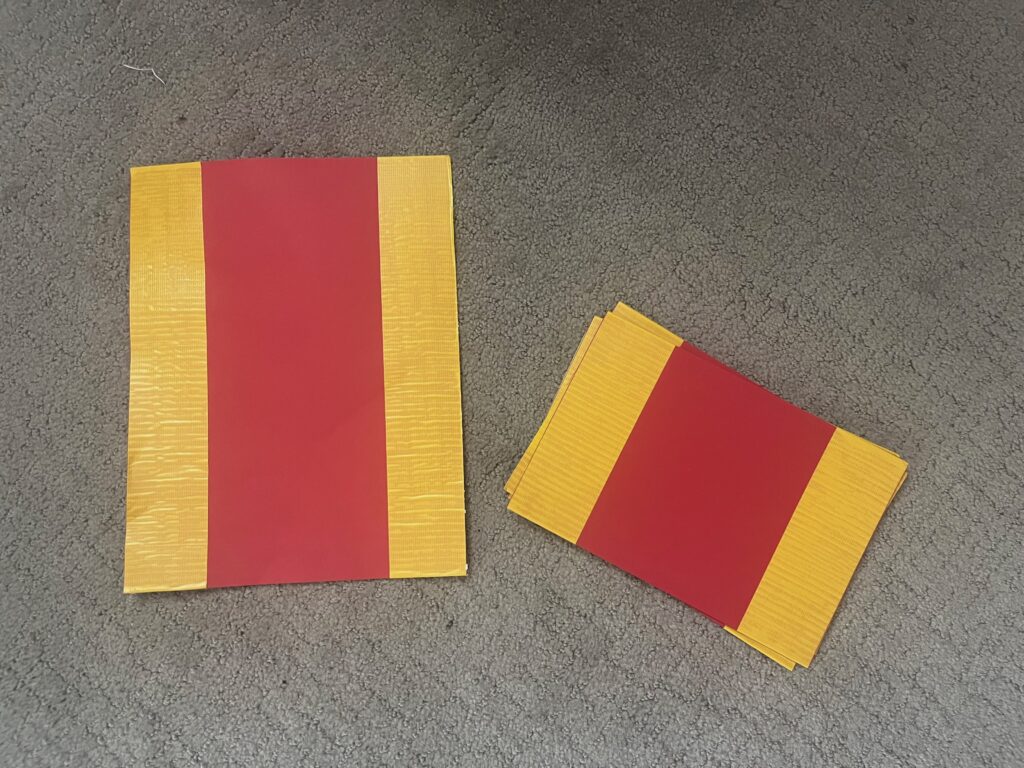
With leftover red cardstock and yellow duct tape (from the Pit Stop mat), I decorated them to look official and stand out at each location.
Contestant Bags
Each team got a contestant bag at the start, which included:
A copy of the race rules
Color-coded notebooks (one per team)
Pens
Water bottles
I used my Cricut to cut vinyl labels for the bags with team names, but I didn’t use the right kind of vinyl—so some of the letters peeled off during the day. Lesson learned: make sure to use permanent vinyl if you want your labels to last! Even so, the bags were a fun and functional touch that made each team feel official.
Tasks & Stops
I came up with 7 race tasks using a mix of ChatGPT brainstorming and my knowledge of Sam’s favorite things:
Old Town art scavenger hunt
Slyce Pizza delivery 🍕
Library Park Detour – trivia vs. coloring one of Sam’s Etsy coloring sheets
Torchy’s Tacos queso challenge 🌮
CSU Library book hunt 📚
City Park pickleball rally
Final Pit Stop at Odell’s Brewery 🍷🍻
Signs
On the real Amazing Race, Phil often says “look for the marked route.” Since we didn’t have a full TV crew to guide racers, signs were key. I made simple signs with red cardstock, yellow duct tape, and yellow yard flags for outdoor spaces.
Folders (Detour, Route Info & Roadblock)
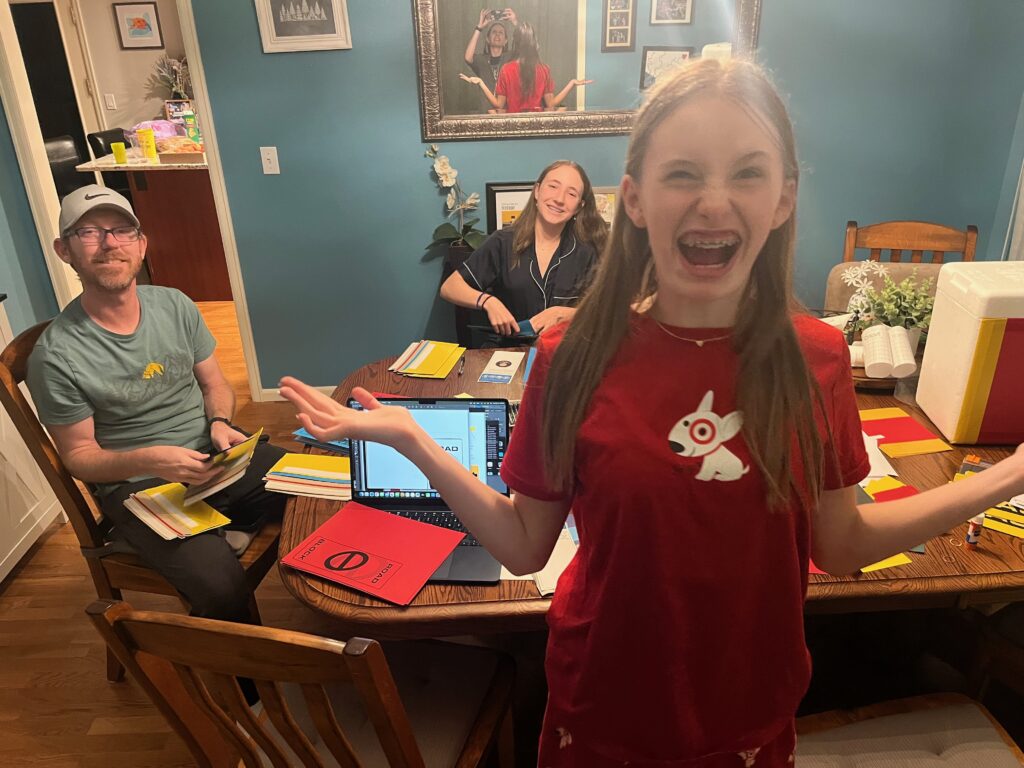
I designed printable folders to hold each clue and task. To save on color ink, I printed black text on colored paper—red, yellow, and blue. (I had extra yellow from a Pokémon Go party, so that worked perfectly!)
Each folder was trimmed down to 9”x4” to fit the envelopes. I’ll share my printable files soon so you can use them for your own race!
The Pit Stop Finish Line
The Pit Stop finish line mat deserved its own post—it really made the ending feel like the real show! Check out my step-by-step guide here.
The Samazing Race was such a success! Racers laughed, competed, and got really into the challenges. Best of all, Sam felt celebrated in a way that was totally her.
If you’re planning a DIY Amazing Race party, I can’t recommend these little details enough—they really brought the whole experience to life.
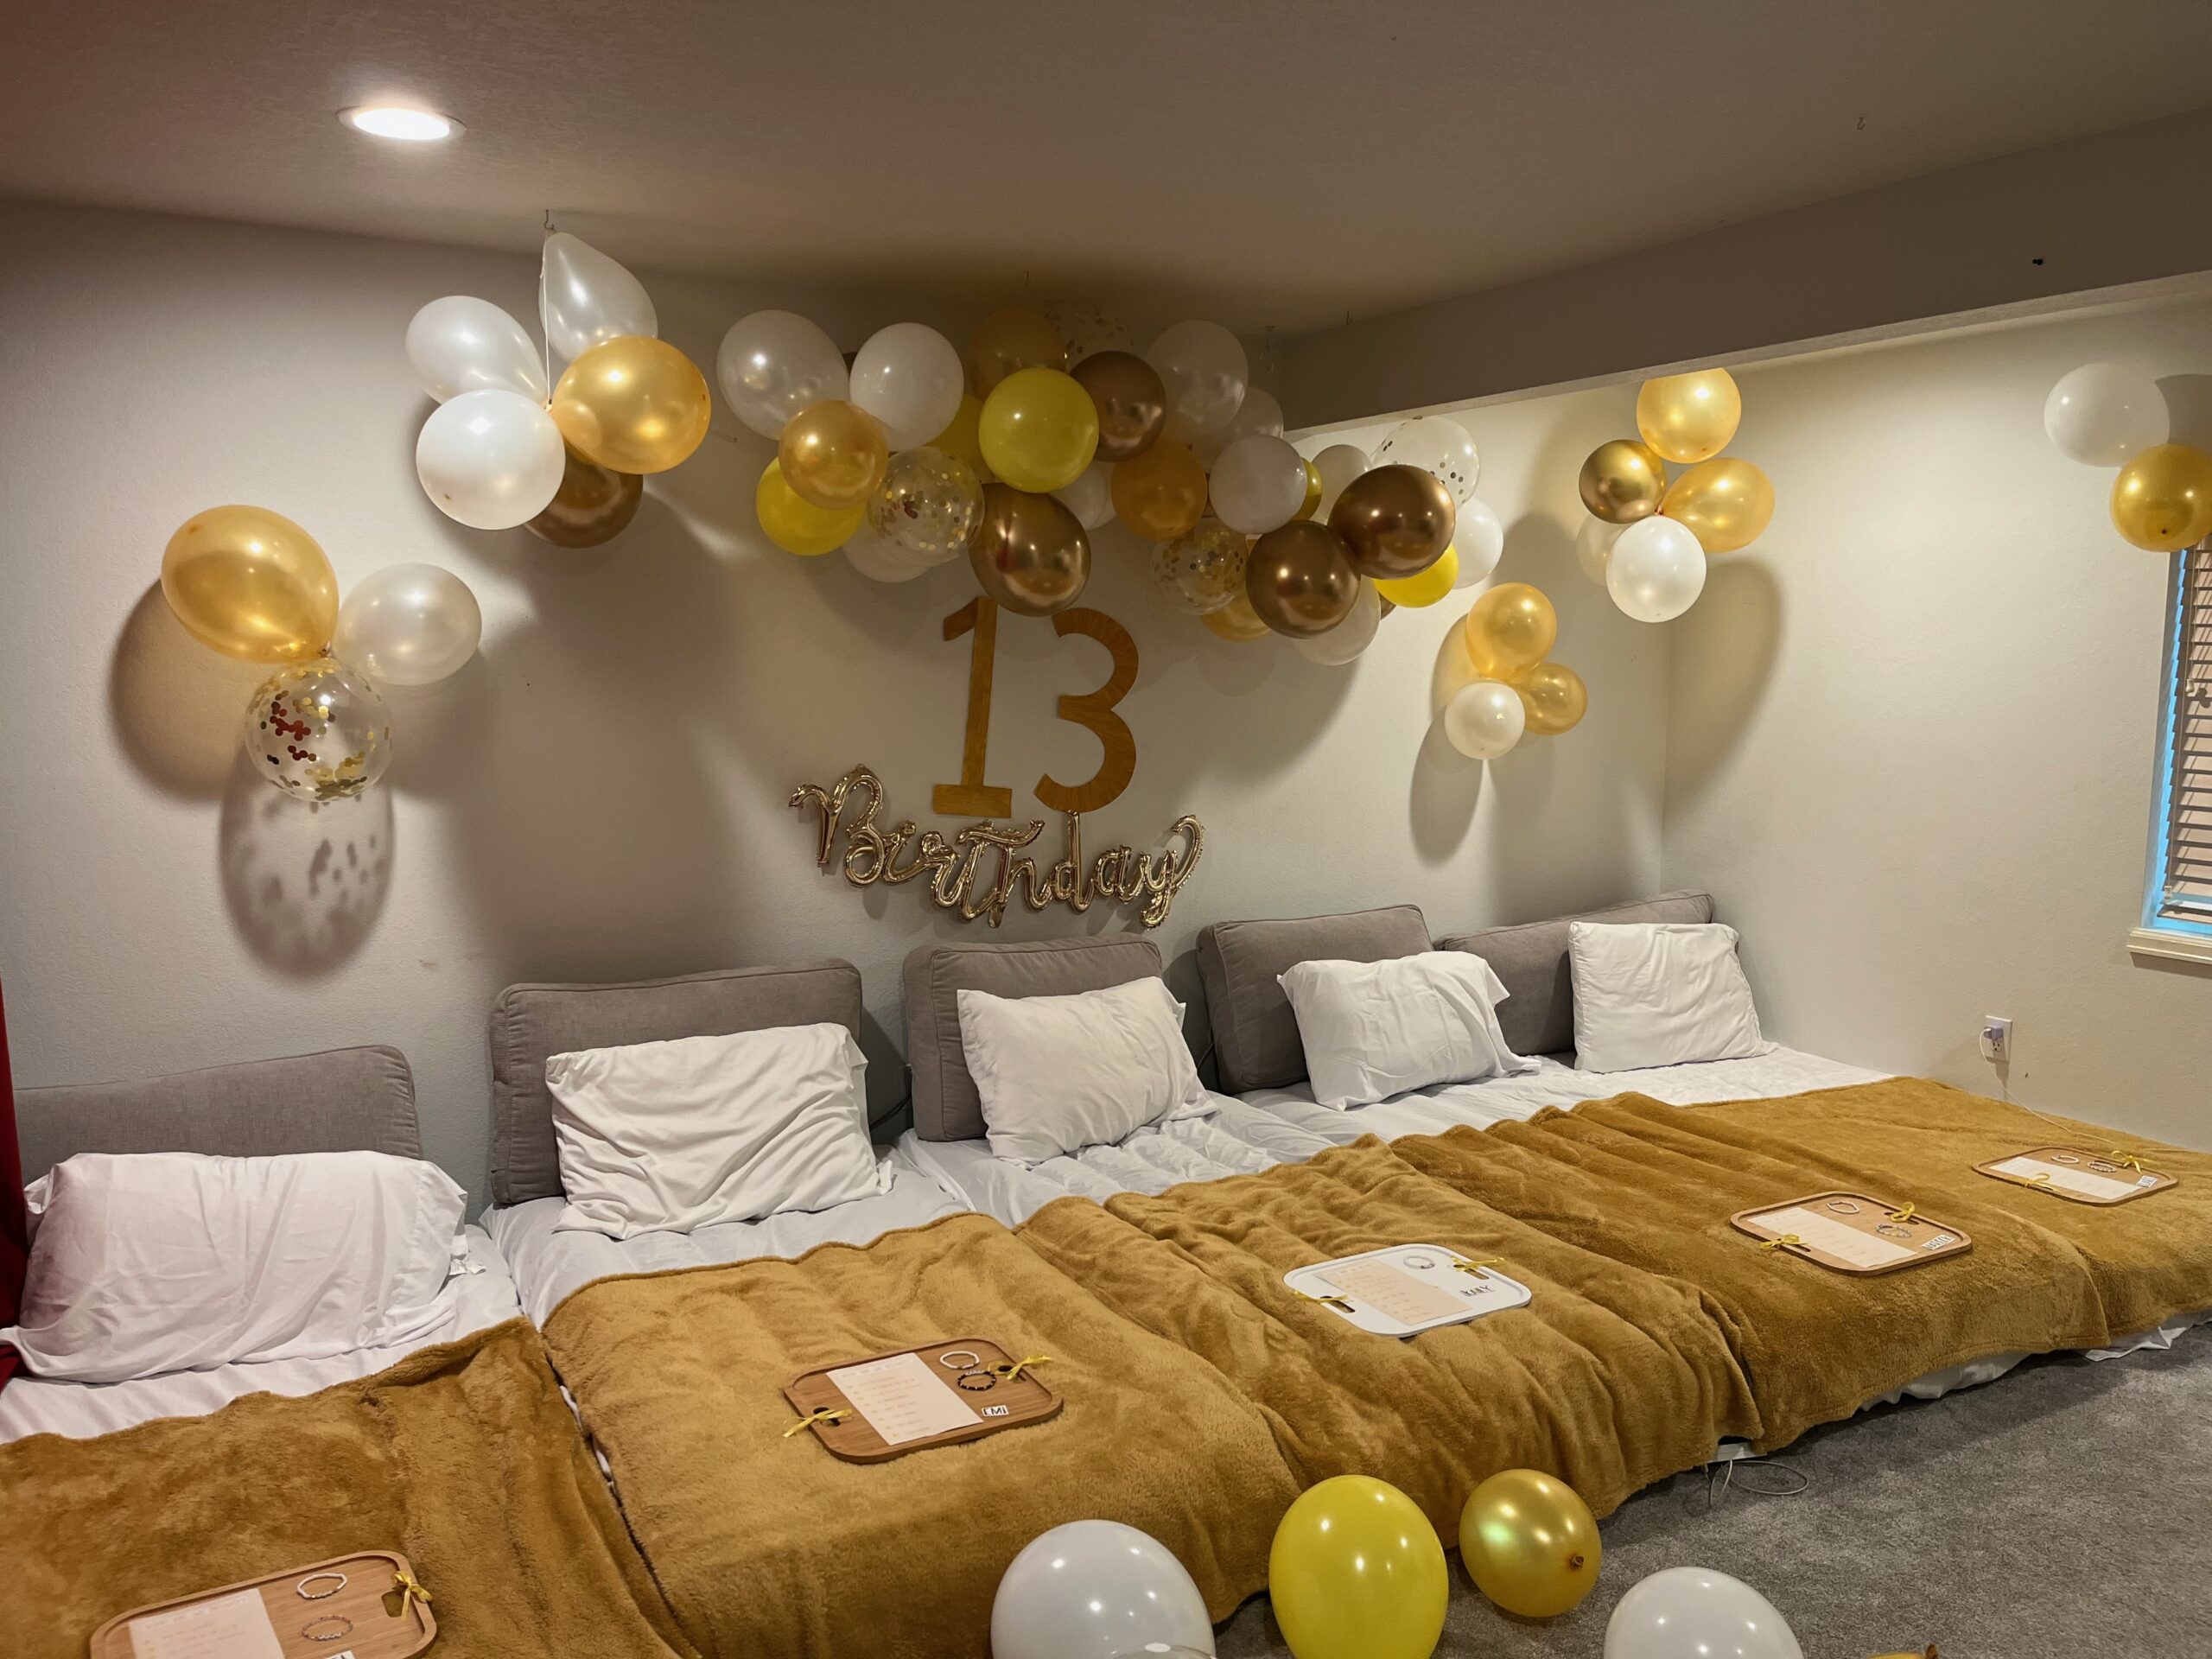
This year was a special day for my daughter—it was her 13th birthday AND her golden birthday! To celebrate this perfect golden milestone, we threw a fun and cozy golden-themed birthday party right in our basement.
We transformed our living space into a chill hangout and sleeping area with a touch of glam. We already had two twin mattresses from an old bunk bed and two air mattresses from our camping gear, so we laid them all out side by side. To keep the theme going, we picked up some simple gold blankets from Amazon that made the space feel warm and coordinated. For snacks, we got creative and used trays from storage bins as mini snack tables right on the beds—practical and cute!
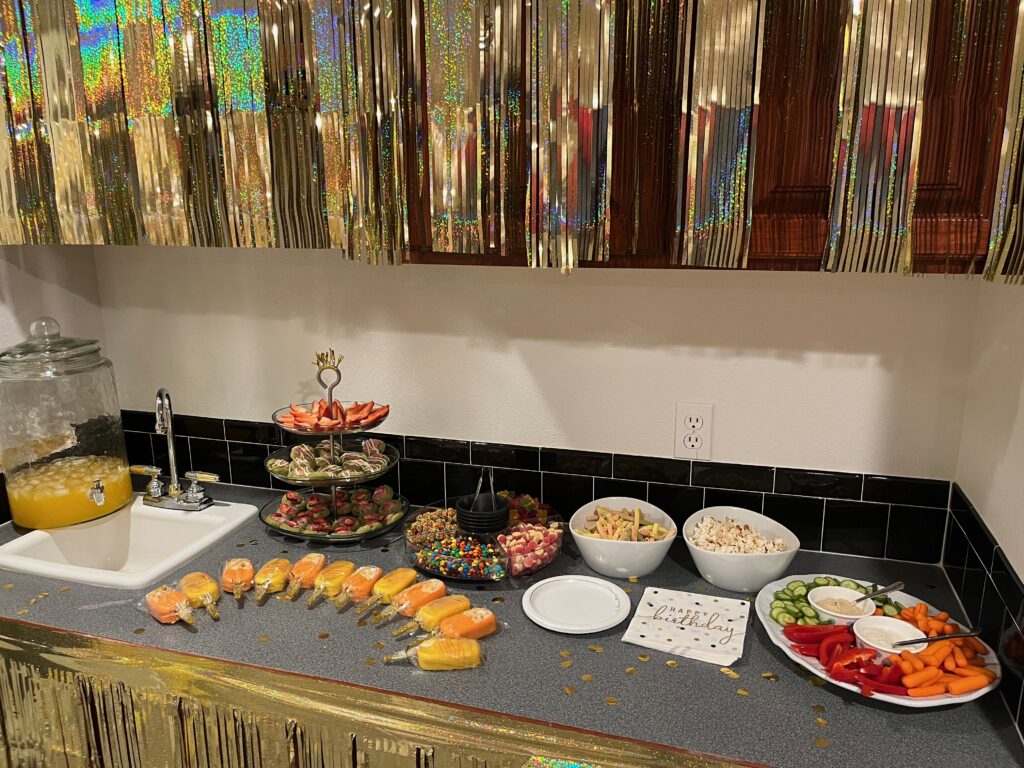
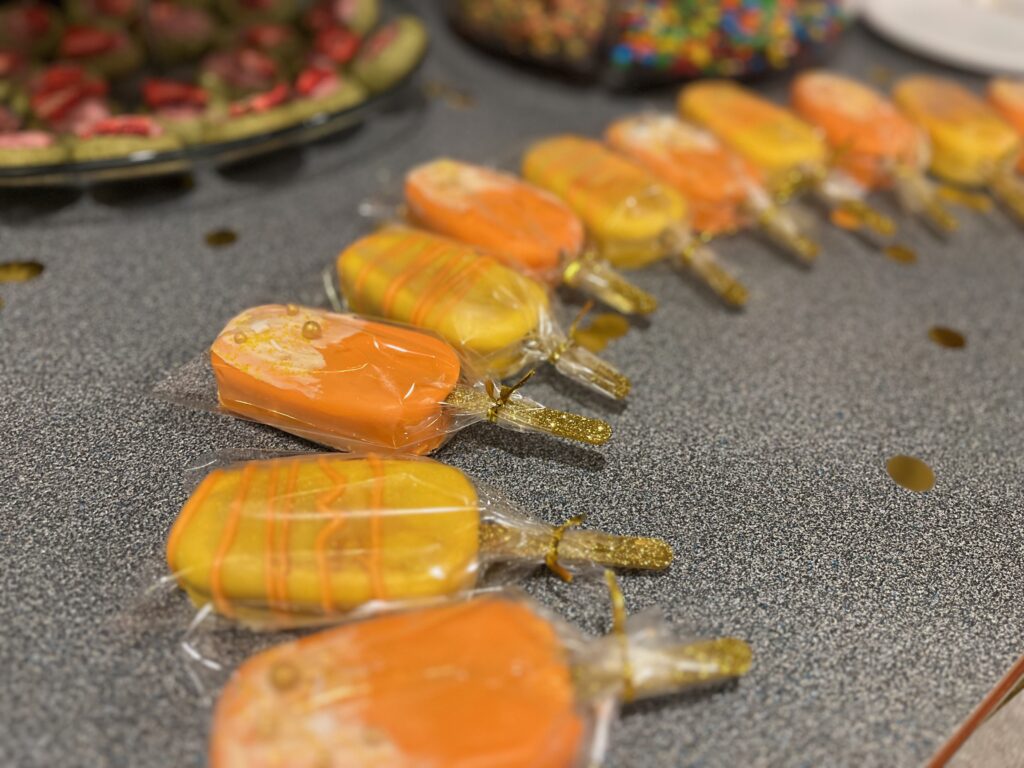
Now, for the sweet part—my daughter really wanted to make cake-sicles. This was our first time trying them, and I was so impressed by how easy it was with the right tools. We found some amazing cake-sicle molds and used melty candy coatings to give them a smooth, shiny finish.
To top it all off, we scored these golden sparkly resin popsicle sticks at JoAnne’s during their going out of business sale. They were the perfect touch of sparkle and made the treats feel super special.
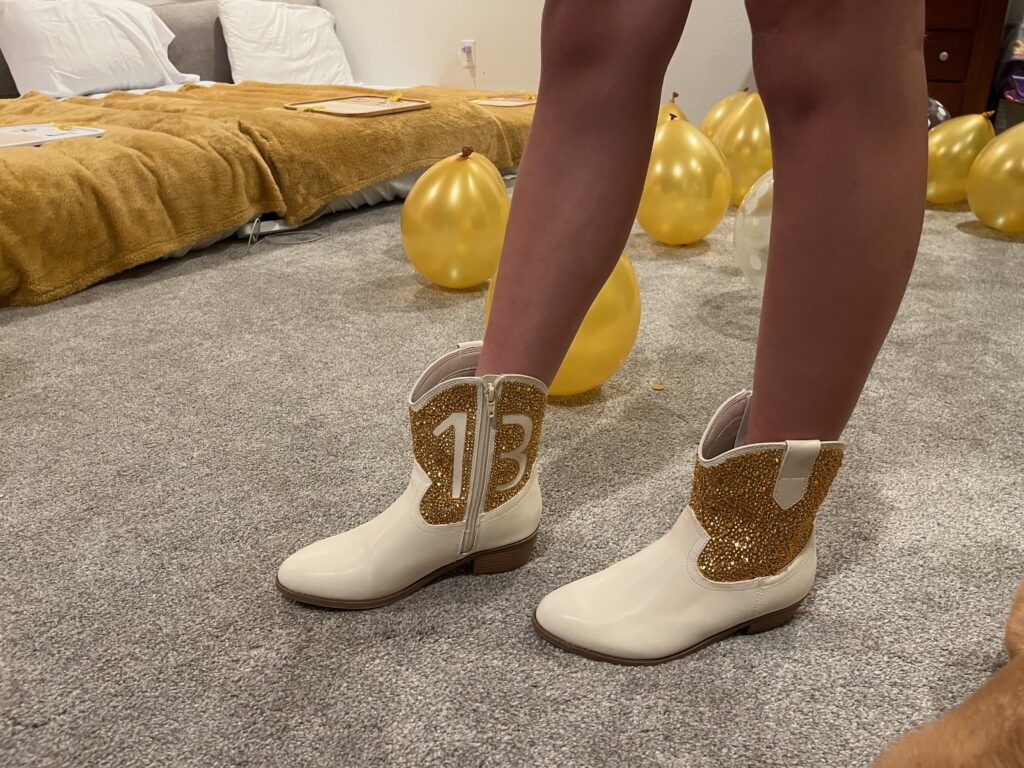
For the finishing touches, we added a golden sequin dress and hand bedazzled boots for the birthday girl to wear. The balloons, gold curtain backdrop, and “Happy Birthday” balloons came from Walmart, rounding out the golden vibe perfectly.
Overall, it was such a fun and memorable night for the birthday girl and her friends. It wasn’t about a big fancy party but more about making a cozy space full of golden touches that made her feel extra special on this milestone birthday. Her and her friends watched movies, did crafts and played games while hanging out in their cozy space.
If you’re thinking about throwing a golden-themed party or a sleepover with friends, this setup is definitely a winner! Comfortable, cute, and a little bit sparkly—it hits all the right notes.
Bedazzle supplies: Varied sizes of gold rhinestones, and B7000 the best bead glue, with tiny needle sized applicators. We’ve bedazzled a LOT of things, and this glue is the best.
(Note: Balloons and curtain from Walmart and popsicle sticks from JoAnne’s)
I am an Amazon Associate and may earn a small commission from qualifying purchases at no extra cost to you.